Growing up, we never took down our Christmas decorations until Dia de los Reyes, or Epiphany.
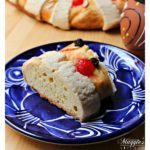
That day, we would get gifts. Then, we would eat a slice of Rosca de Reyes, or Roscón de Reyes, with a big cup of champurrado. To make this beloved Mexican dessert takes some time, but well worth it.
What is Dia de los Reyes Magos?
It is celebrated on January 6 and remembers the appearance of the Wise Men or Magi Kings: Balthazar, Melchior and Caspar.
They followed the Star of Bethlehem, bearing gifts of gold, frankincense and myrrh for the Baby Jesus.

See above. These are the ingredients needed to make the cake. The decorations will come later.
Traditionally, this Mexican dessert eaten after a big dinner. Tamales are typical eaten on King’s Day, or Dia de los Reyes.
Table of Contents
🫔Authentic Mexican Tamales:
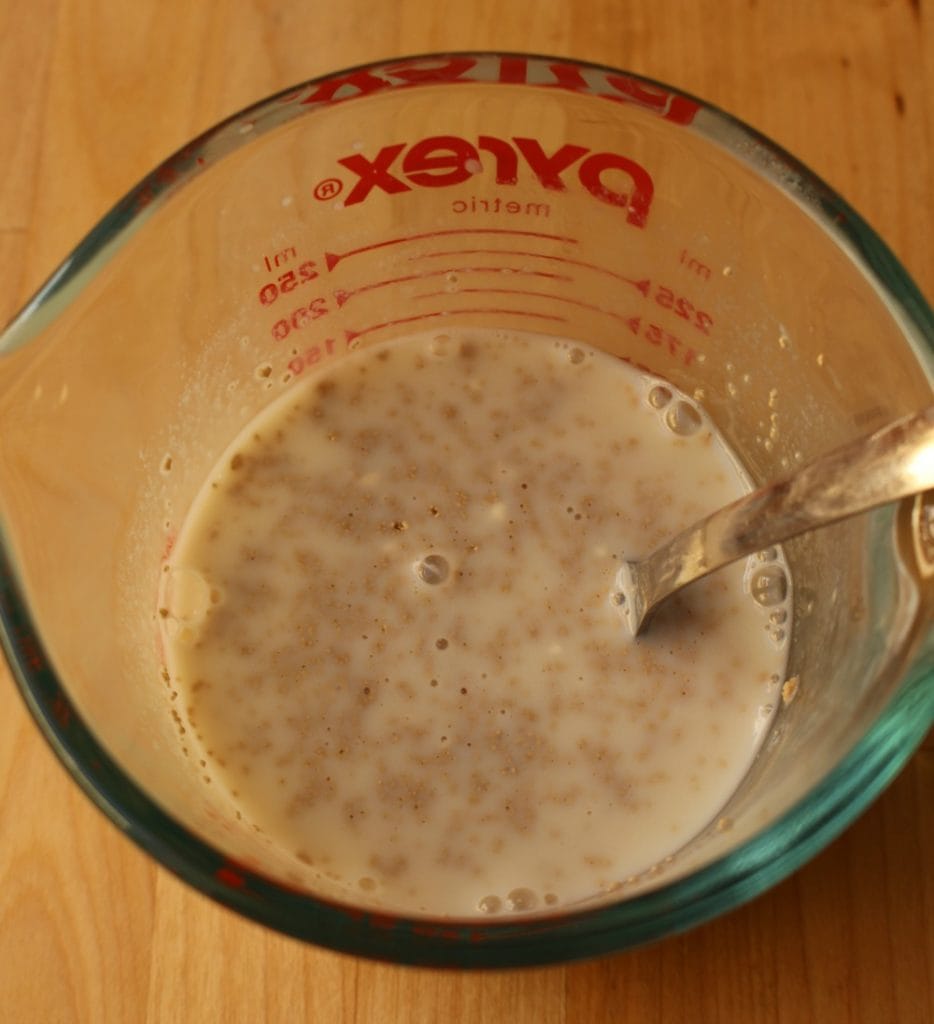
You start with the yeast. Most breads and cakes require yeast. Make sure there are no lumps.
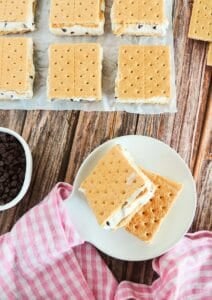
🍰 Other Traditional Mexican Desserts:

Using a grater, get the zest of one orange. Zest is best.
Note: If you like more orange-y flavor, zest another orange and use the juice of ONE orange.
Yes, you will need to add more flour, but not much more than what is noted in the recipe.
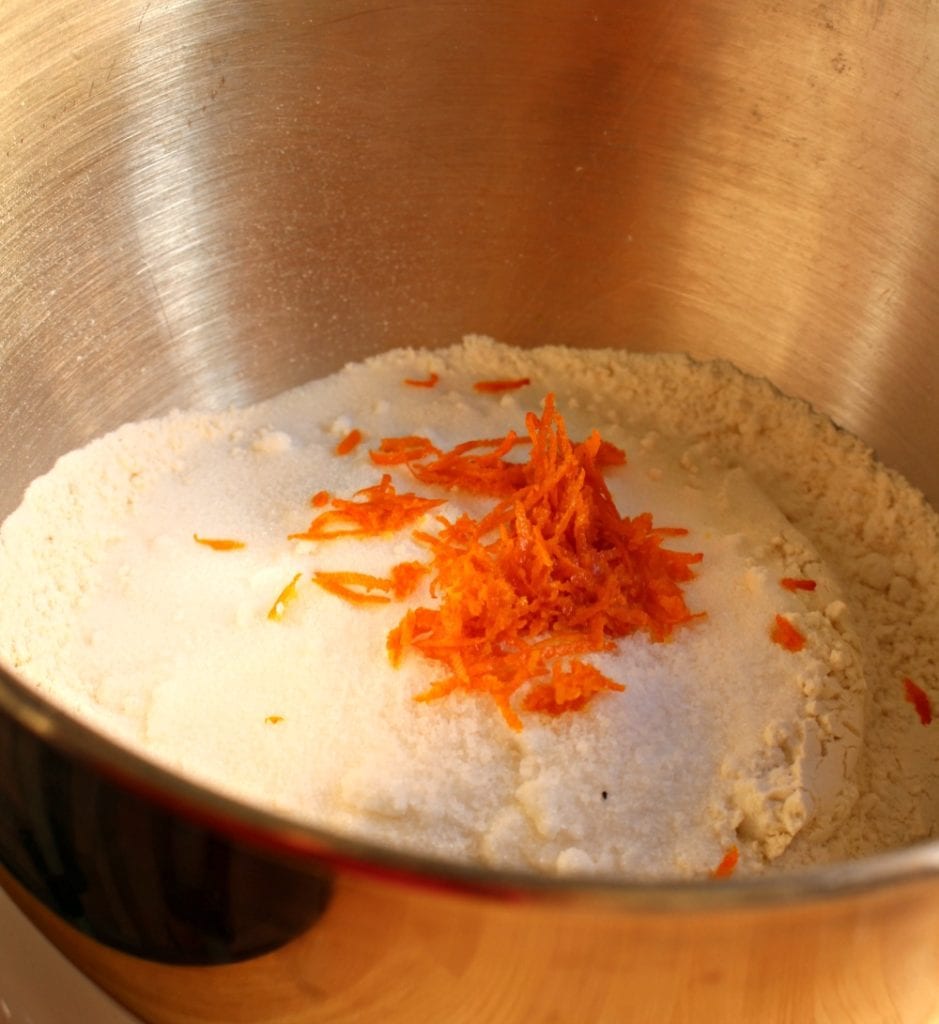
- Add the orange zest to the Kitchen Aid.
- If you don’t have one, you can use a hand mixer.
There will be some kneading by hand involved regardless of what you use.
Or, you can do this by hand:
- Create a volcano of flour.
- Then add the ingredients in the center and slowly work them in.
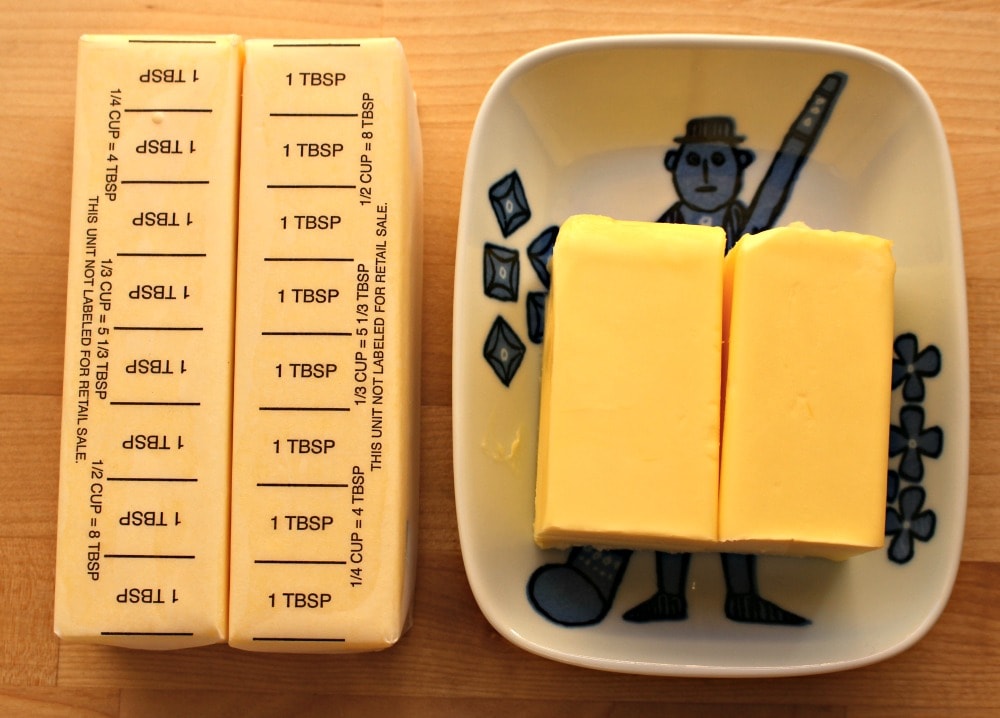
- Take out the butter so it can be room temperature.
- Add the butter slowly to the mixer until fully incorporated.
Do not use melted butter.
Here is how to soften butter quickly: My personal favorite way is to put it in the microwave for 10 seconds. If it is still cold, zap it again for 5 more seconds.
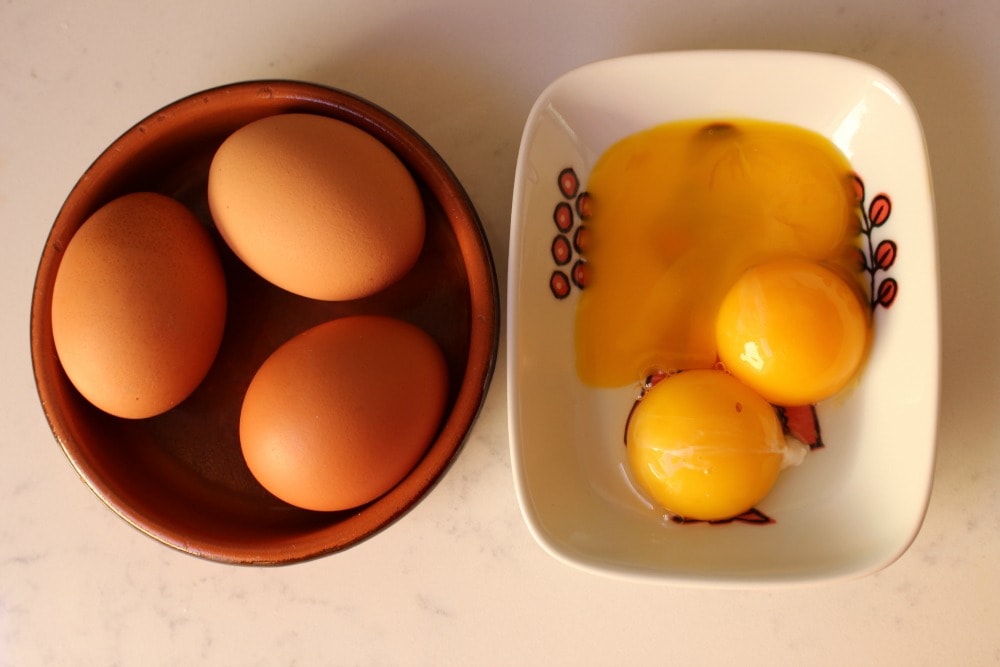
- Take out the eggs.
- Separate the yolk from the whites.
This Rosca de Reyes recipe calls for 3 whole eggs and 3 egg yolks. You can also use an egg separator.
One of the yolks crack in the process. Oh well.. I’m not yolking about it. It really happened. lol.
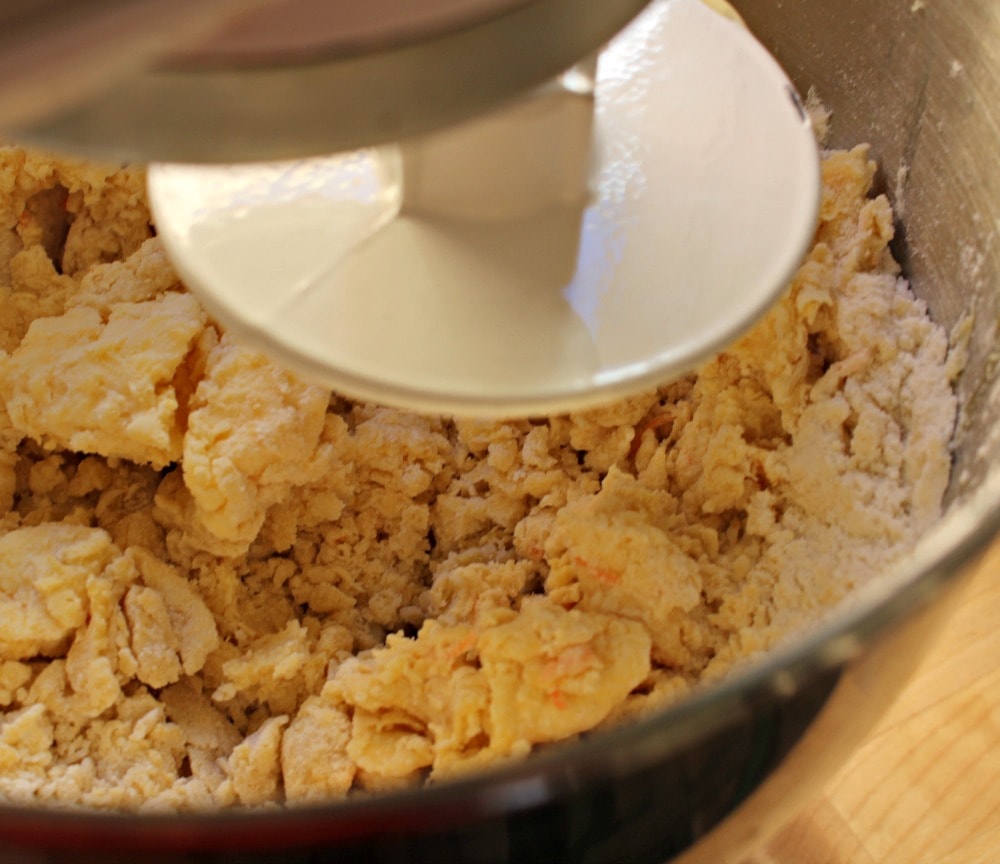
- Turn the KitchenAid or hand mixer on low.
- Then turn to medium low and mix well.
Word to the Wise: If you start on high, the flour will go everywhere. Always start on low then progress to medium.
Flour sometimes stays on the bottom. We need all the flour power we can get!
Make sure to scrape the sides and the bottom with a spatula. Do this periodically as you’re working.
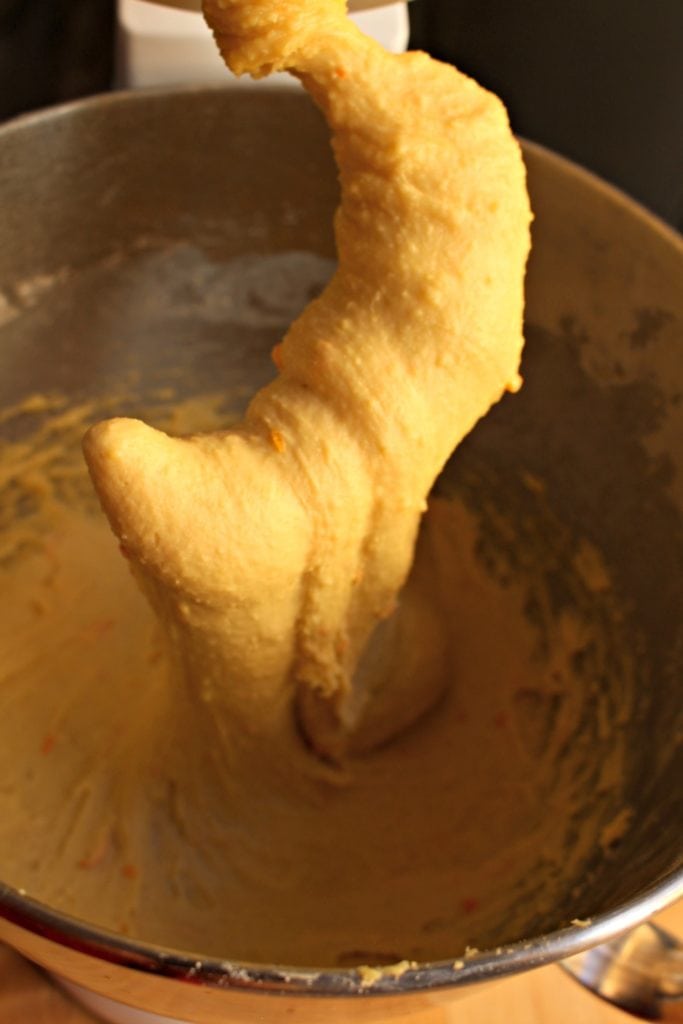
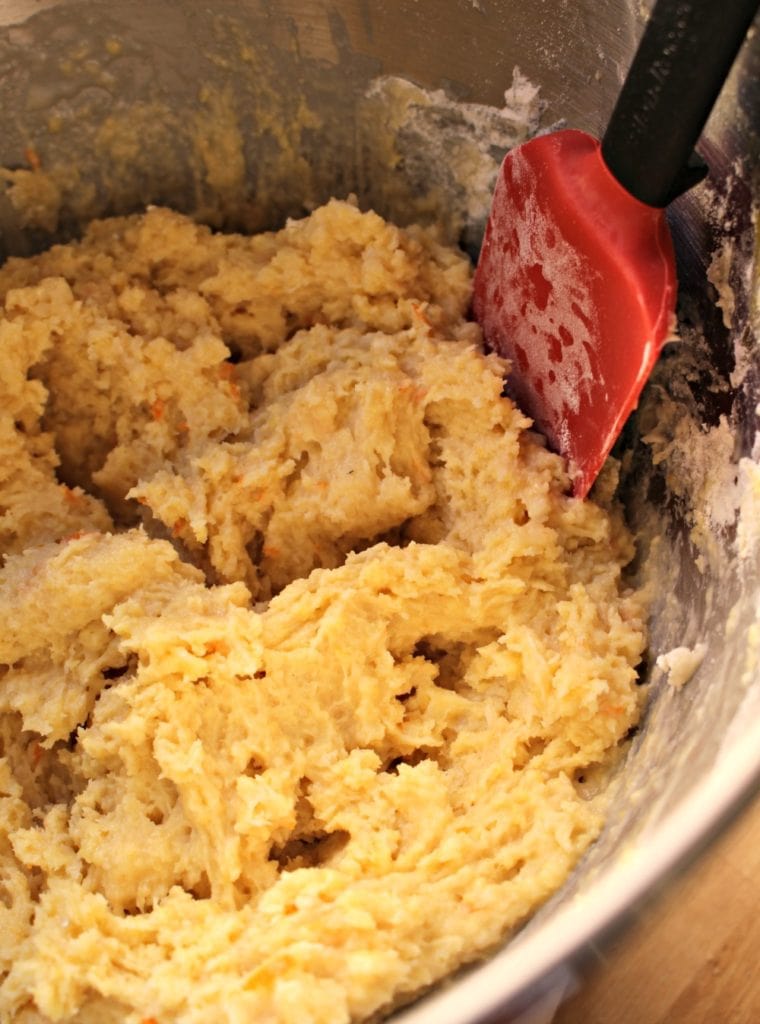
The dough is very sticky. Sticky is tricky. Get the dough off the hook.
You can very well continue and let the mixer do the mixing. By hand will allow us to only use the flour needed, which translates into a softer cake.
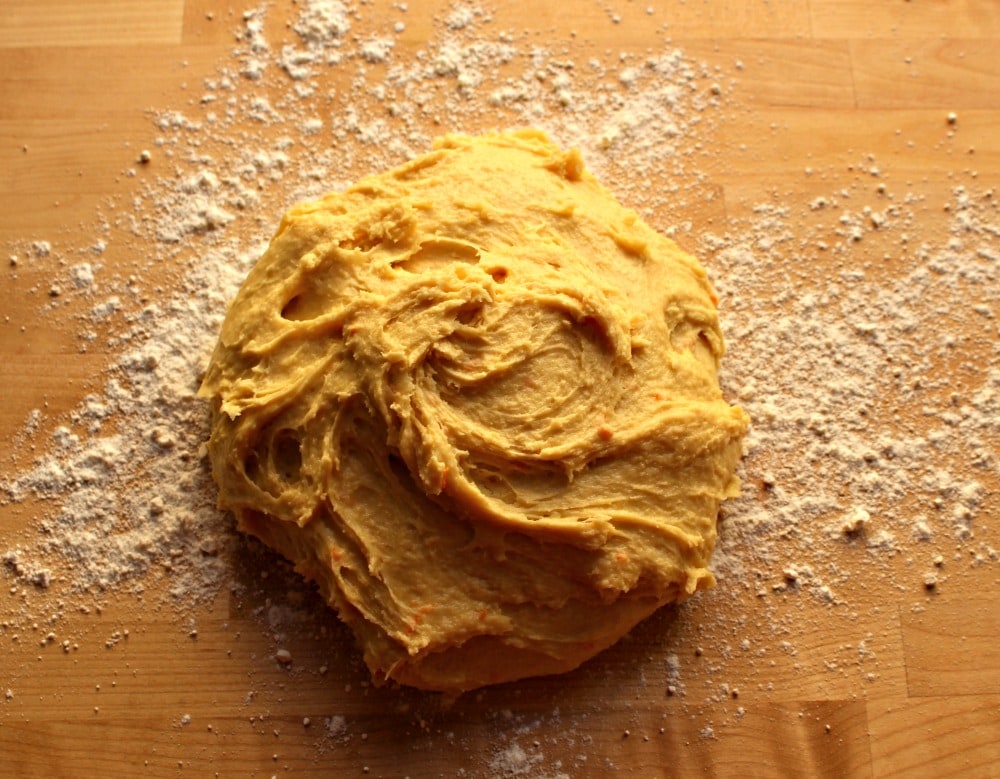
- Dust the surface of a counter with flour.
- Add the dough.
My advice is to work on a surface that is easy to clean. Wash up and start massaging the dough. It’s not a chair massage. It’s a table massage.

Very Important: Only add as much flour as you need to get the dough to come together.
Adding too much flour will result in a dense bread and will not be very soft.
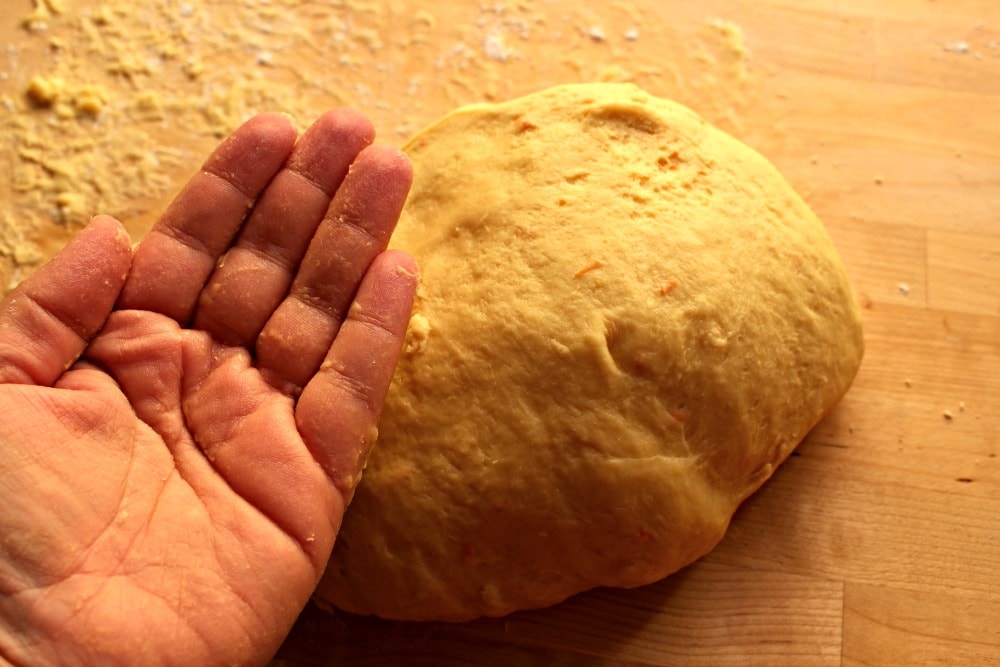
After about 20 minutes and you’ve burned a few calories, the dough will form.
How to tell if the dough is ready?
Once your hand no longer sticks to the dough, it’s ready.
Give yourself a hand. This part is done!
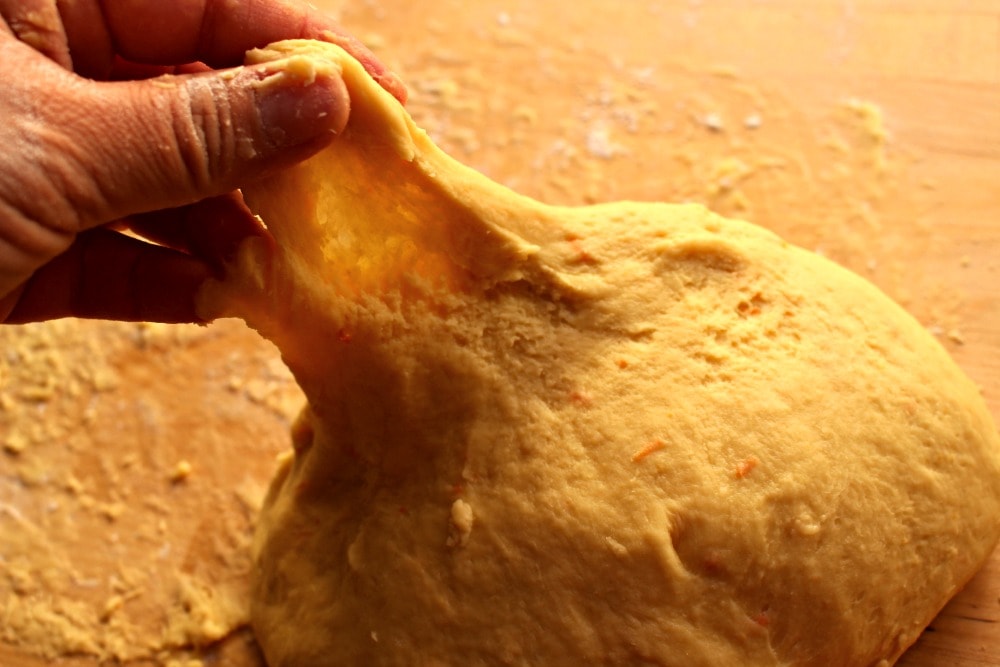
Another way to tell if the dough is ready:
Pull the dough slightly. You are looking for a stain glass window effect. The light will come through the dough.
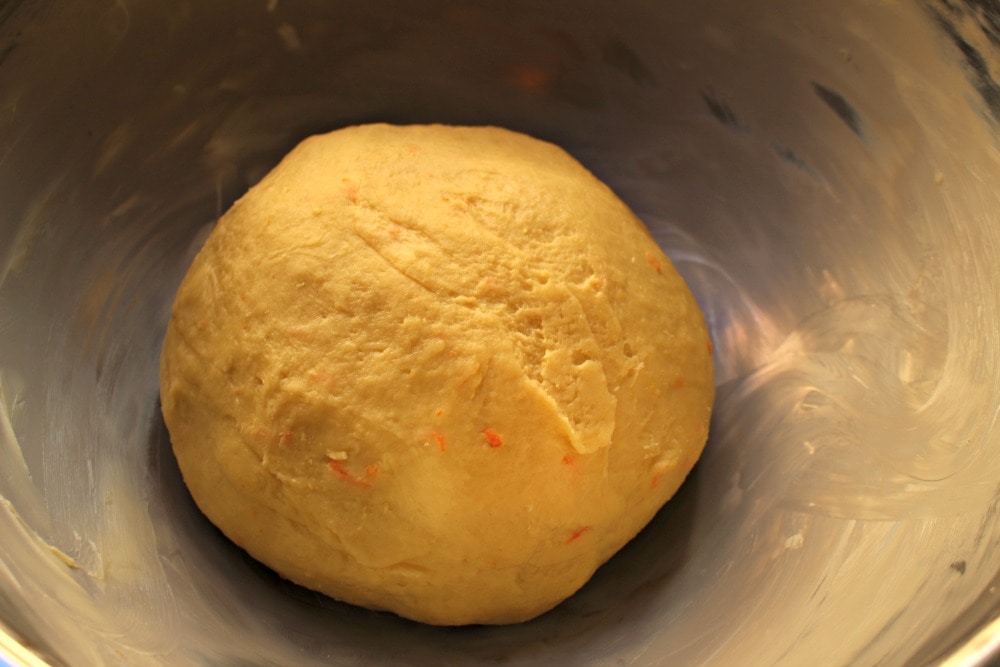
Once the dough is ready, place it in a buttered bowl.
You can also use canola oil. Oily to rise.
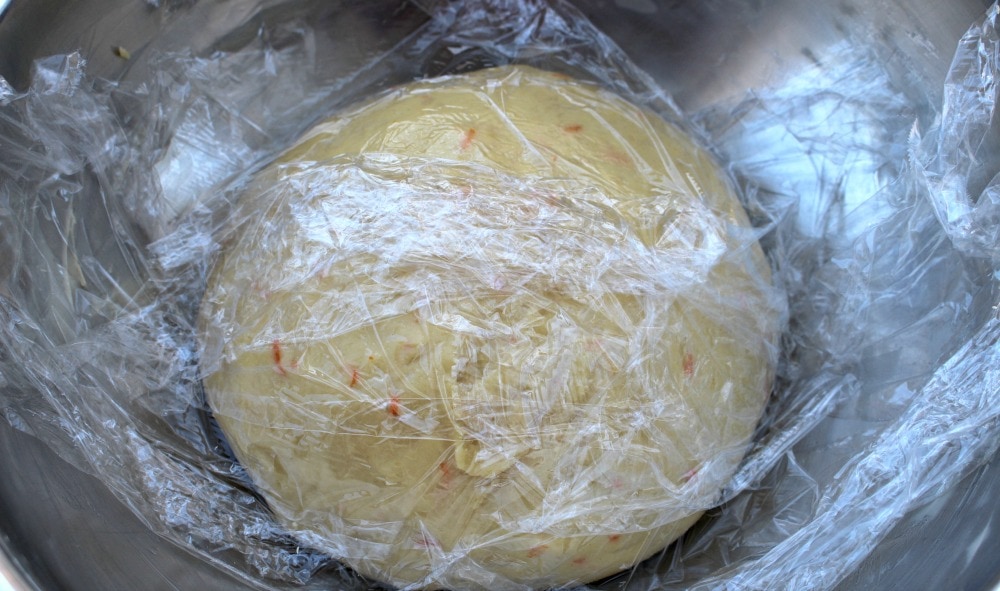
- Cover it with plastic wrap or a kitchen towel.
- Let it rise for 1 ½ hours.
Covering your dough will help prevent a crust from forming on the dough. Do this in a warm place like the kitchen.
Please Note: If you live in colder temperatures, it can take up to 2 hours to rise.
- Once it is ready, dust a clean surface.
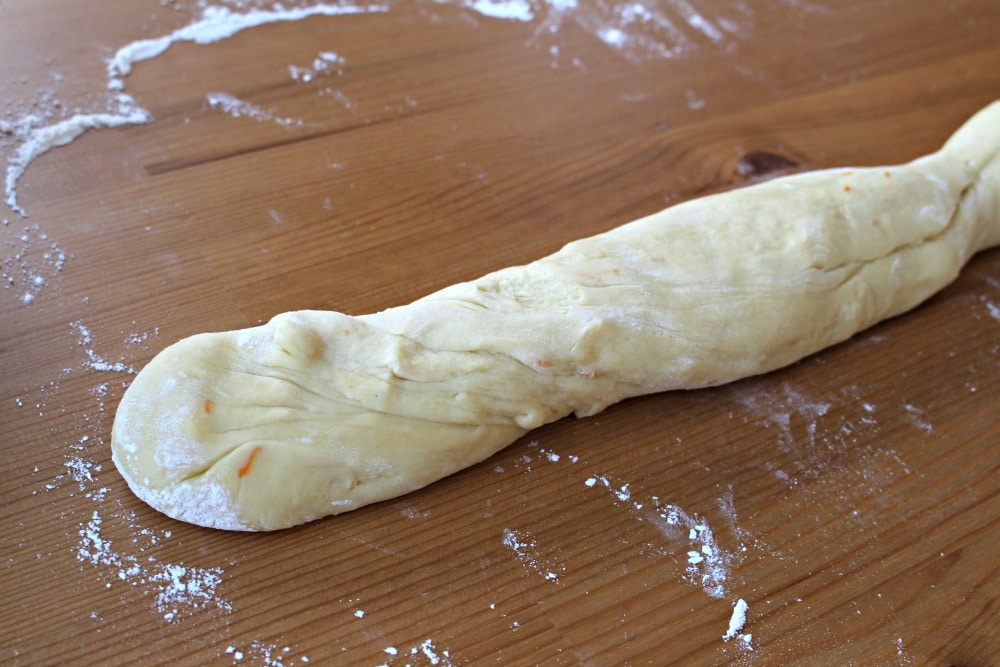
- Add the dough and start rolling it out.
- Roll out the dough as long as you can.
You can do this by hand or use a rolling pin. It will look like a very long baguette.
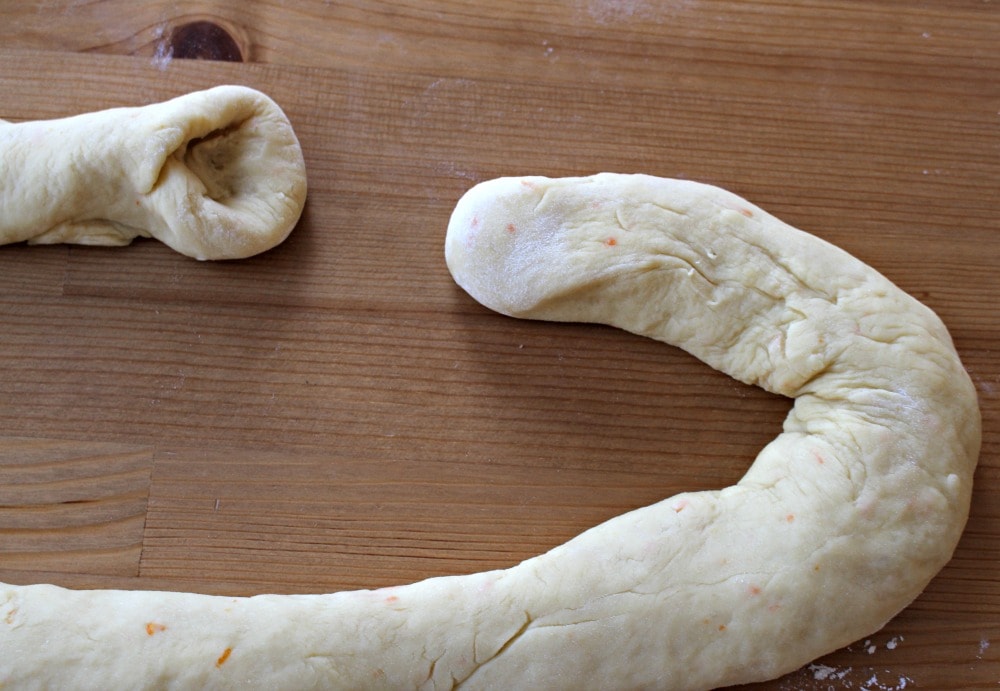
- Form an opening on one of the ends.
- Connect the two ends together.
It kinda looks like an elephant’s trunk. Ain’t no junk in this trunk. Lol.
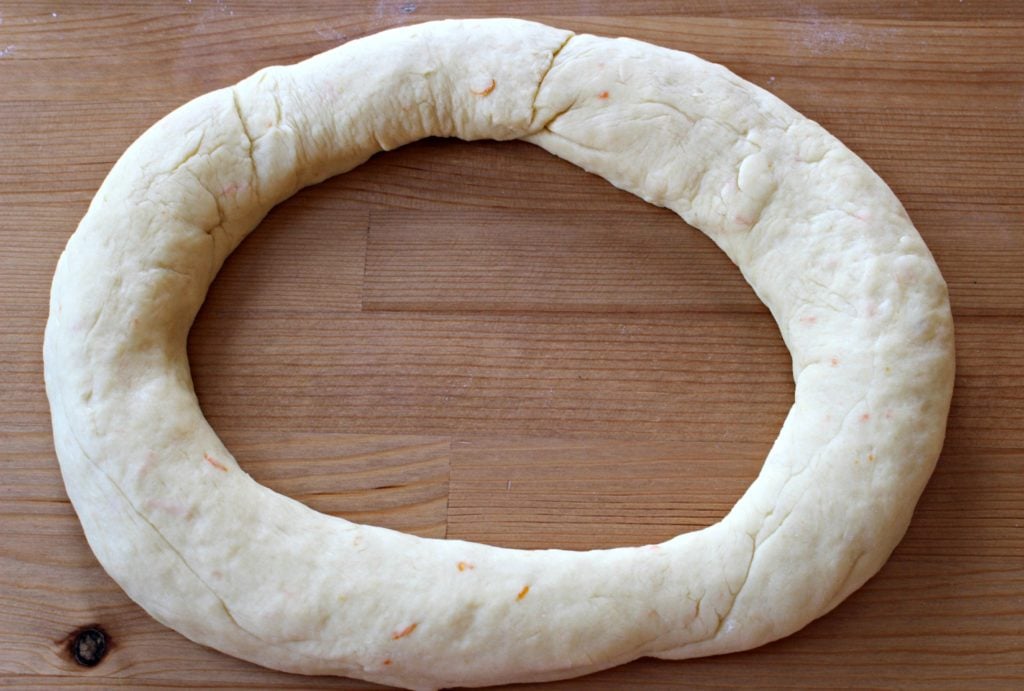
- Now, shape the dough.
- Shape the dough here first to make sure it will fit the cookie sheet.
- Carefully place the dough on a large cookie sheet. You will need to shape the dough again.
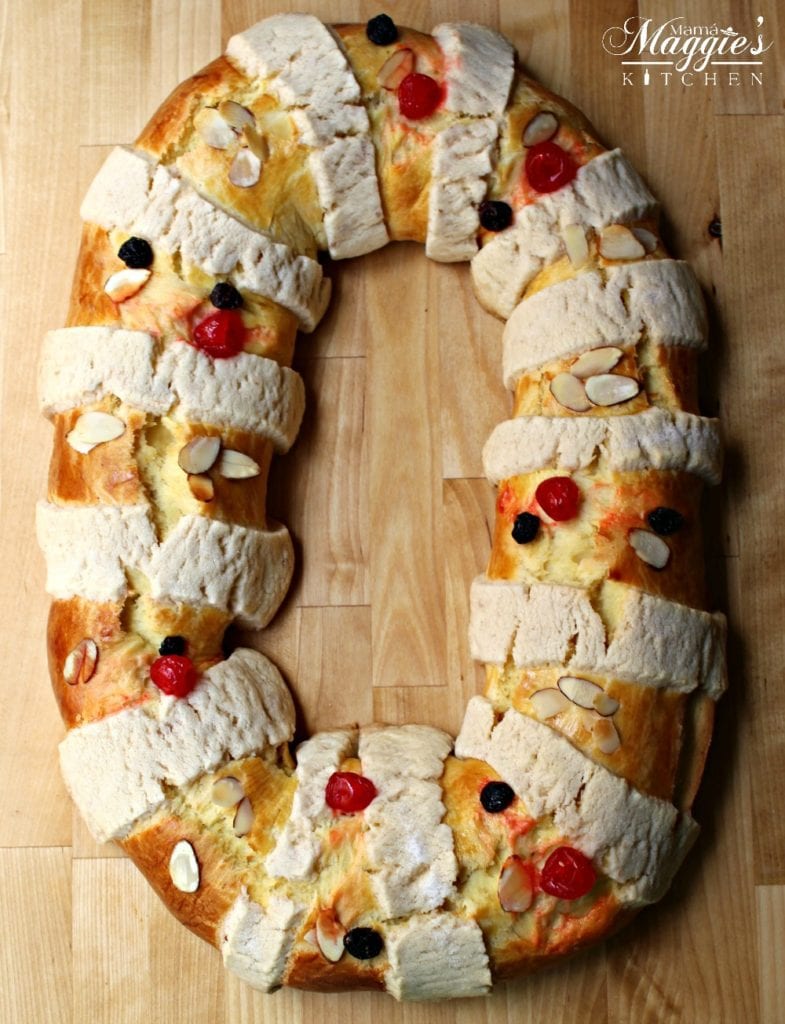
Rosca de Reyes is more oval shaped than round.
👩🏼🍳 Pro Tip:
If you shape the dough into an oval, and it’s bigger than your cookie sheet, make two Roscas. One big one, and one little one.
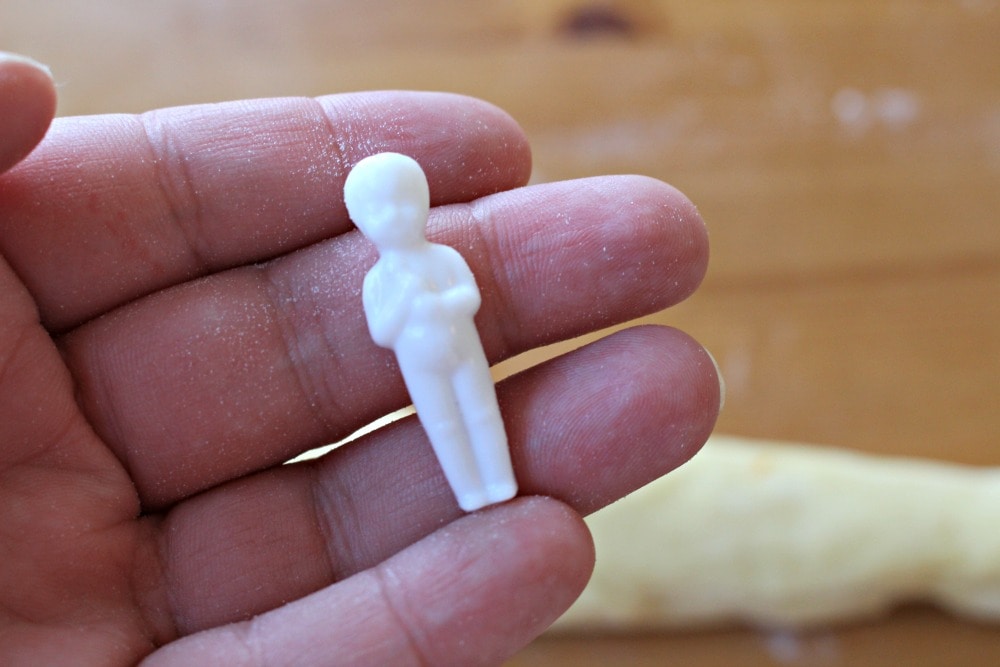
You might have a hard time finding these Baby Jesus dolls. Luckily, you can order the Jesus doll online.
If you live by a Mexican bakery, ask the baker for one. This is how I got mine. Or, save the baby Jesus dolls from the year before.
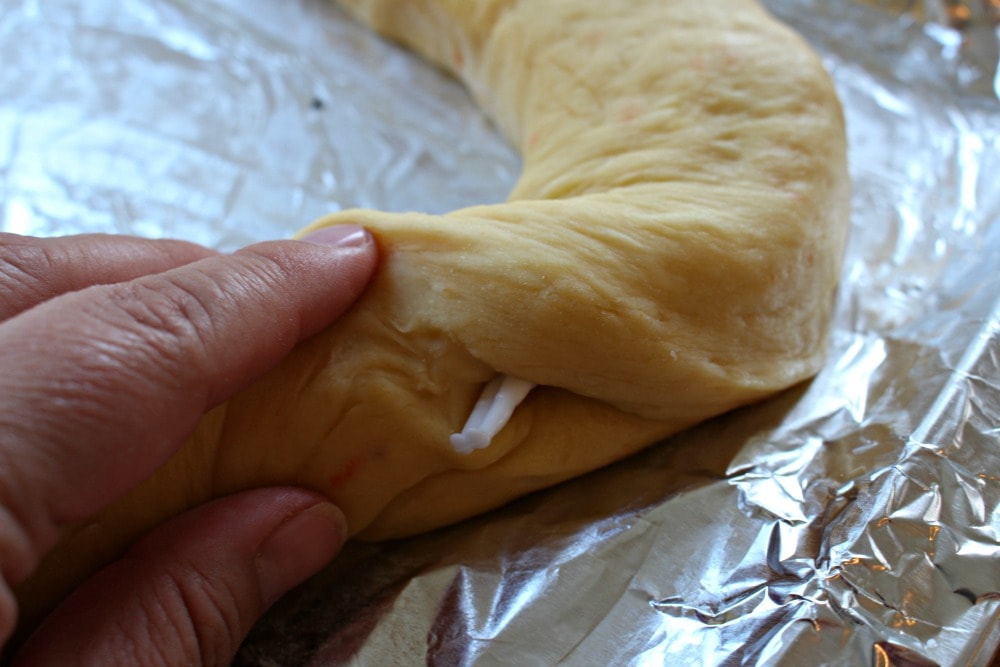
- Hide the Baby Jesus doll from the bottom up.
- Press the dough together to hide the seam.
Nowadays, if you buy a Rosca de Reyes, you’ll find 6 or more dolls. Before, they only hid one doll. Times have changed.
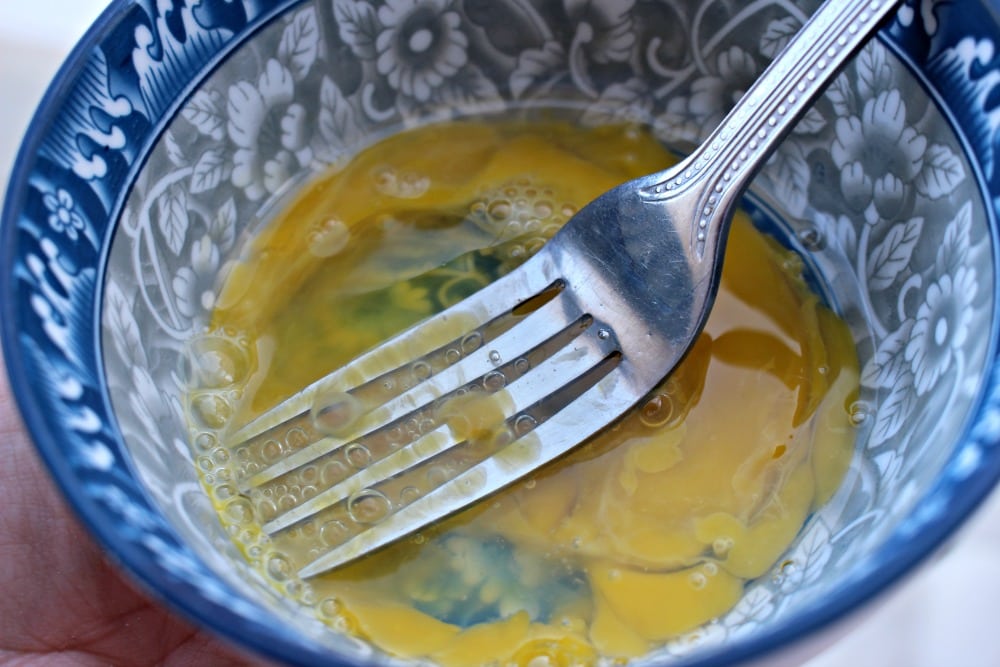
Make an egg wash. This is just one egg and 1 tablespoon water. Beat it with a fork.
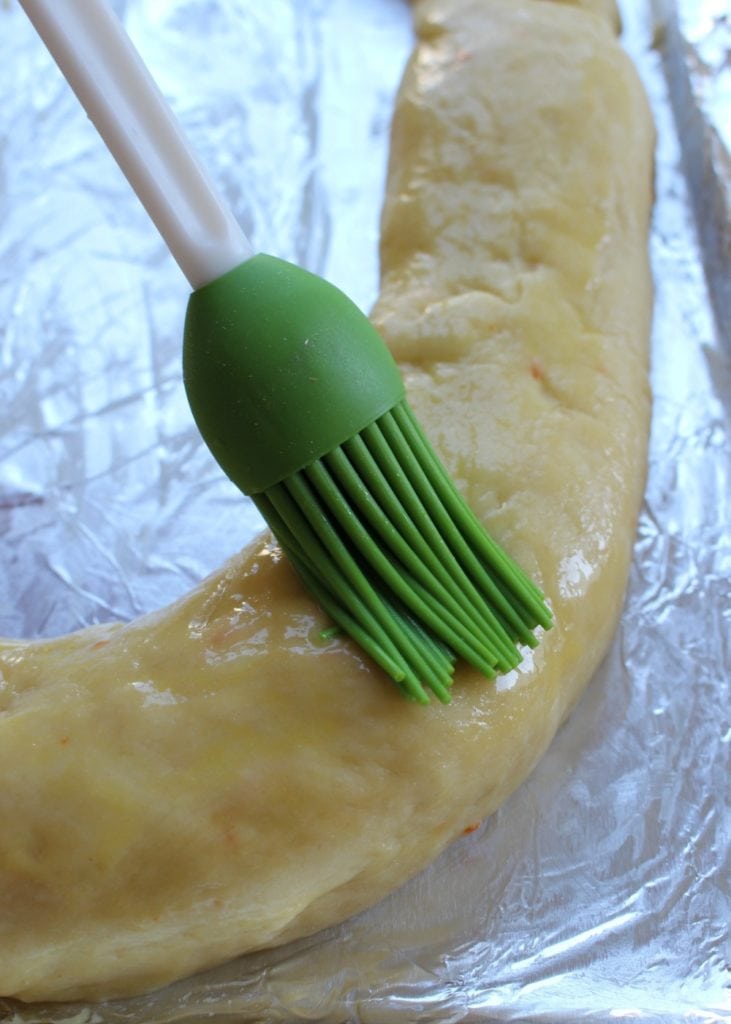
Take your basting brush, and brush the egg wash all over the Rosca dough.
Be sure to get the sides.
Now the fun part! Decorating time.
This is the same powdered sugar mixture used to top everyone’s favorite Mexican sweet bread, Mexican Conchas.
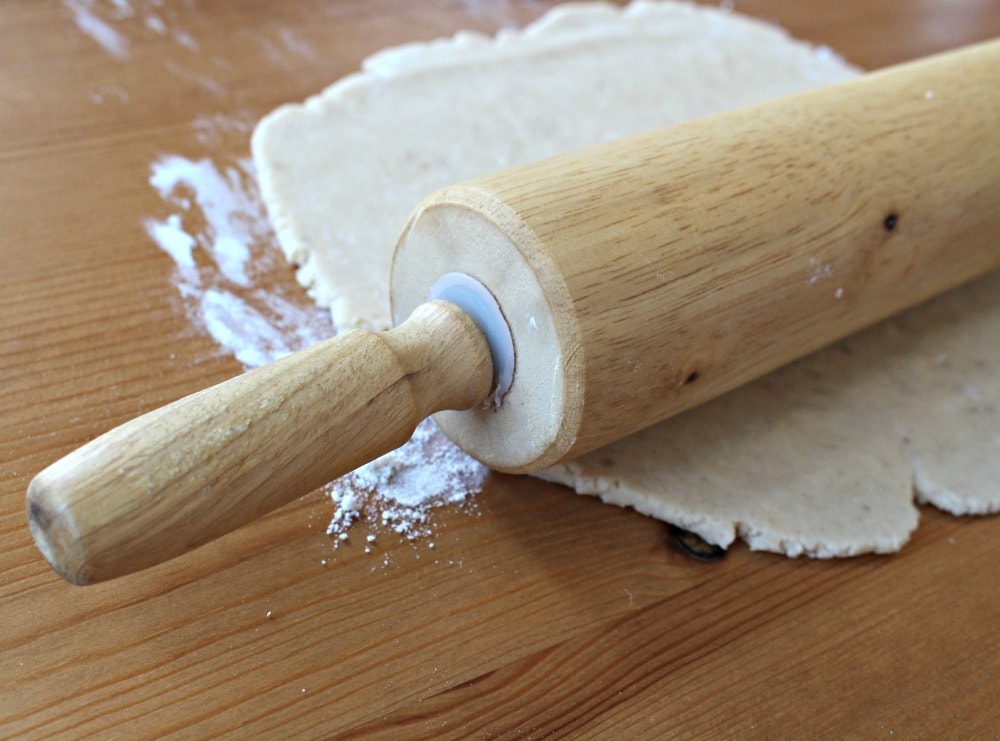
The full recipe is in the recipe card below. Roll it out.
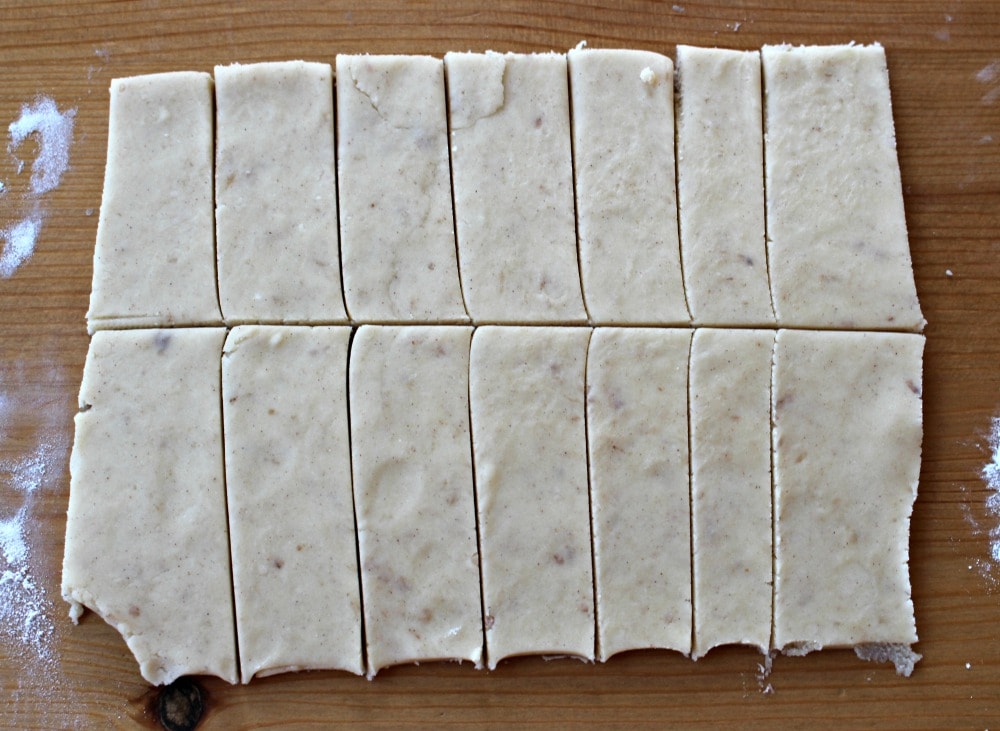
Cutting it will give you more exact measurements.
You can also spread it out in your hand and eyeball it.
Some people will add yellow or green food coloring to the sugar dough for a more festive dough.
Two to three drops is all you need.
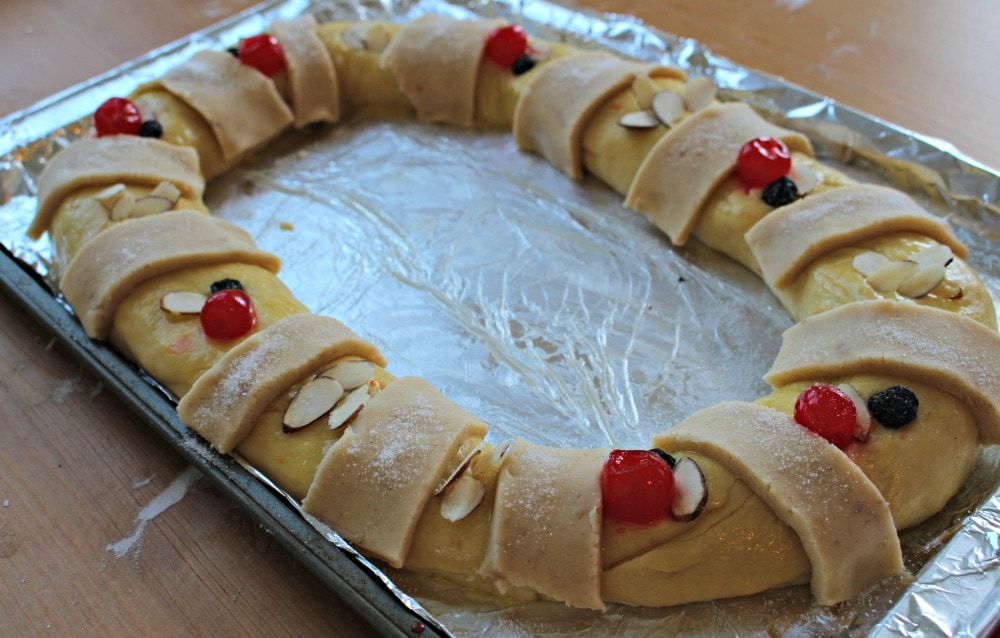
Topping Ideas:
- Ate (fruit paste)
- slivered almonds
- maraschino cherries
- raisins
- dried figs
- dried plums
- candied pineapples
- mango
- candied orange
- green-colored cherries
- shredded coconut
Invite the kiddos. They love to help with the decorating.
Symbols
- The dried and candied fruits on the bread symbolize the crowns of the Kings. The Baby Jesus doll placed inside represents Mary and Joseph fleeing Egypt to escape Herod, trying to kill their baby.
- The tradition of the Rosca de Reyes started in Europe in the 14th century. Also called Roscón de Reyes in Spain and other Spanish-speaking countries.
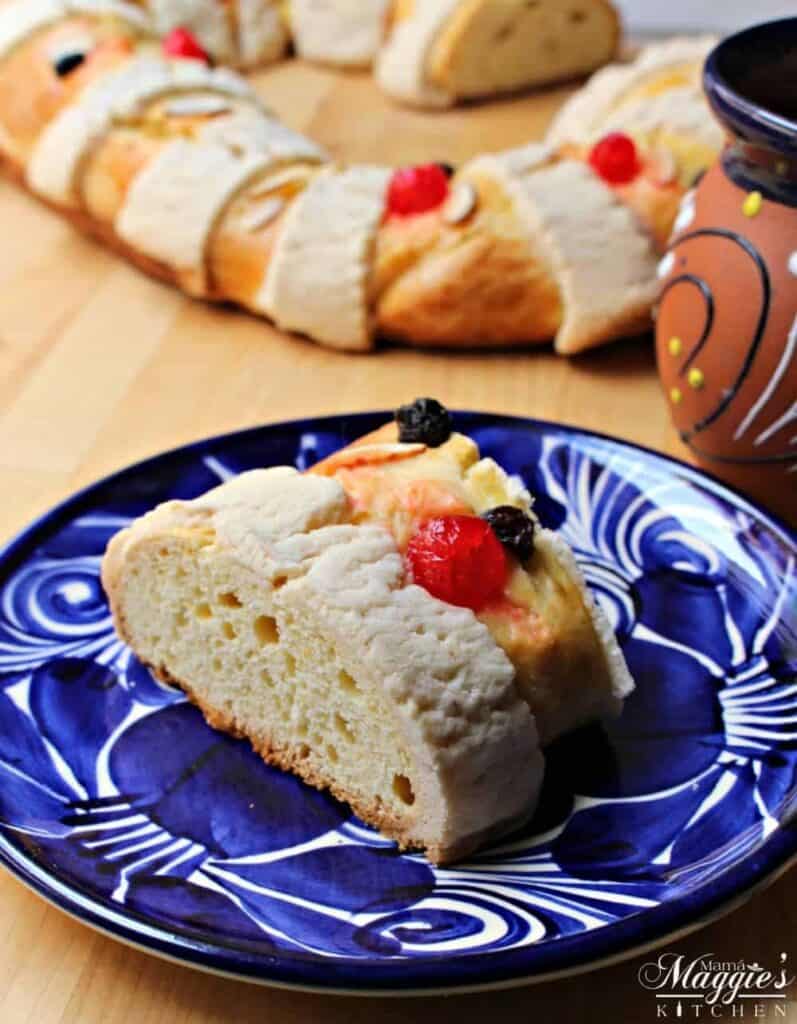
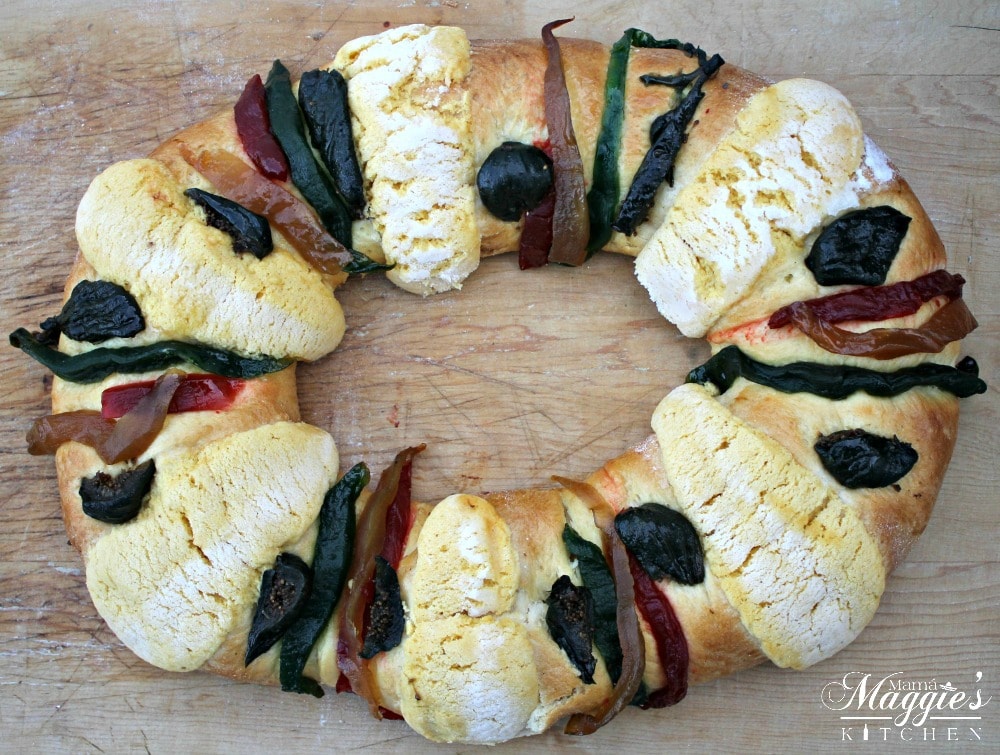
Check out the one below. It is a store-bought Rosca de Reyes (or Roscón de Reyes). I wanted to show you the different types of toppings people use.
They are also stuffed with cream cheese, cajeta, chocolate, and more.
What does it mean when you get the baby in the Rosca?
It is said that the person who finds the baby Jesus doll inside the Rosca de Reyes, should throw a party on Día de la Candelaria, or Candlemas Day, on February 2.
The person hosting the party is supposed to make tamales.
Just in case you get the Baby Jesus doll, here are some recipes for tamales.
😋 HUNGRY FOR MORE?
Be sure to subscribe to my newsletter and follow along on Facebook, Instagram, Pinterest for my latest recipes and videos.
Did you make this recipe? Please rate the recipe below!
Rosca de Reyes
Ingredients
- For Yeast Mixture:
- 1 package yeast
- 1 tablespoon sugar
- 1 tablespoon all purpose flour
- ½ cup milk warm milk not hot
- For Dough:
- 4 cups cake flour
- ¾ cup sugar
- ¾ tablespoon salt
- 3 eggs
- 3 egg yolks
- Zest of 1 orange
- ½ cup softened butter or 1 stick
- For Sugar Topping:
- ⅔ cup powdered sugar
- ½ cup butter
- 1 cup all-purpose flour + ½ cup for dusting
- 1 teaspoon cinnamon
- 1 teaspoon vanilla extract
- For Decorations:
- 1 egg
- 1 tablespoon water
- Ate or fruit paste
- Candied or dried fruits – pineapple oranges, figs, dates, plums, raisins
- Maraschino cherries – red and green if available
Instructions
- In a small container, mix the yeast, sugar, flour, and warm milk.
- Mix until smooth and set aside.
- Note: Do not use HOT milk. Warm milk only.
- In a large mixer, add the flour, sugar, salt.
- Mix together to combine.
- If you are using a KitchenAid, use the hook attachment.
- Add the eggs, egg yolks, and orange zest.
- Start mixing slowly.
- Gradually add the butter.
- Once the butter is fully combined, add the yeast mixture.
- Mix for a few minutes.
- On a clean surface, dust with flour.
- Add the dough.
- The dough will be very sticky.
- Start working the dough by hand.
- It will take roughly 20 minutes to get the dough to come together.
- It will look sticky. Have faith. The dough will come together.
- When your hand no longer sticks to the dough, it is ready.
- Butter a bowl.
- Add the dough to the bowl.
- Cover with plastic wrap or a kitchen towel.
- Proof for 1 ½ hour.
- Note: if you live in colder climates, you might need to proof longer.
- Dust a clean surface with more flour.
- Roll out the dough as far as it can go.
- It will look like a long baguette.
- You can use a rolling pin.
- Make a hole on one end of the dough.
- Connect one end of the dough to the end with the hole.
- Shape the dough into an oval.
- Eyeball the size of the oval dough in comparison to your cookie sheet.
- If it’s too big, cut the dough and make two Rosca de Reyes
- Carefully place the dough onto a buttered cookie sheet.
- Shape again into an oval form.
- Cover and set aside.
- Make the sugar topping by combining the powdered sugar, butter, 1 cup flour, cinnamon, and vanilla.
- Mix until a small ball forms.
- Dust a clean surface again with flour.
- Roll out the sugar topping.
- With a knife, cut into small equal-sized rectangles.
- Make the egg wash by mixing an egg with water.
- Brush the dough with the egg wash.
- Be sure to brush the sides of the dough.
- Add the sugar toppings and desired decorations.
- Cover while heating the oven.
- Heat an oven for 350 degrees F.
- Uncover the dough and bake for 30 minutes.
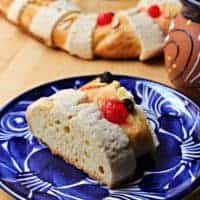
- Let cool before serving.
- Enjoy!


It turned out great!
That’s great to hear. Hope you enjoy!
This looks so yummy! I love making baked goods for the holidays. It’s such a fun holiday tradition.
this sounds so good! i’m curious to see if i can pull it off
Omg can we say yum?!? I’m always looking for new recipes to try! Definitely making this!
This dessert looks so pretty and delicious. The little Jesus surprise is a surprise indeed – event to see it come up in the recipe was unexpected.
yummm this looks so rich and delicious. I would love to try my hand at making this some day
Wow!! This looks delish…but so hard. I’m scared to try it lol.
This looks delicious! Thank you for sharing this tradition and recipe.
Looks super delicious! I never new about this tradition but it sure looks impressive and welcoming to me