

Pan de Muerto – no other Mexican dessert or food represents Día de los Muertos like this delicious bread.
This post may include affiliate links. As an Amazon Associate I earn from qualifying purchases.
From Oct. 31- Nov. 2, Mexicans celebrate the lives of their deceased by creating a colorful altar of items they enjoyed while living like this sweet bread, sugar skulls, and other traditional foods.
Originally from southern region of Mexico, this holiday is now celebrated all throughout Mexico, the United States, and other countries.
Table of Contents
More on Day of the Dead:
Traditional Day of the Dead Food
Day of the Dead Food
La Catrina
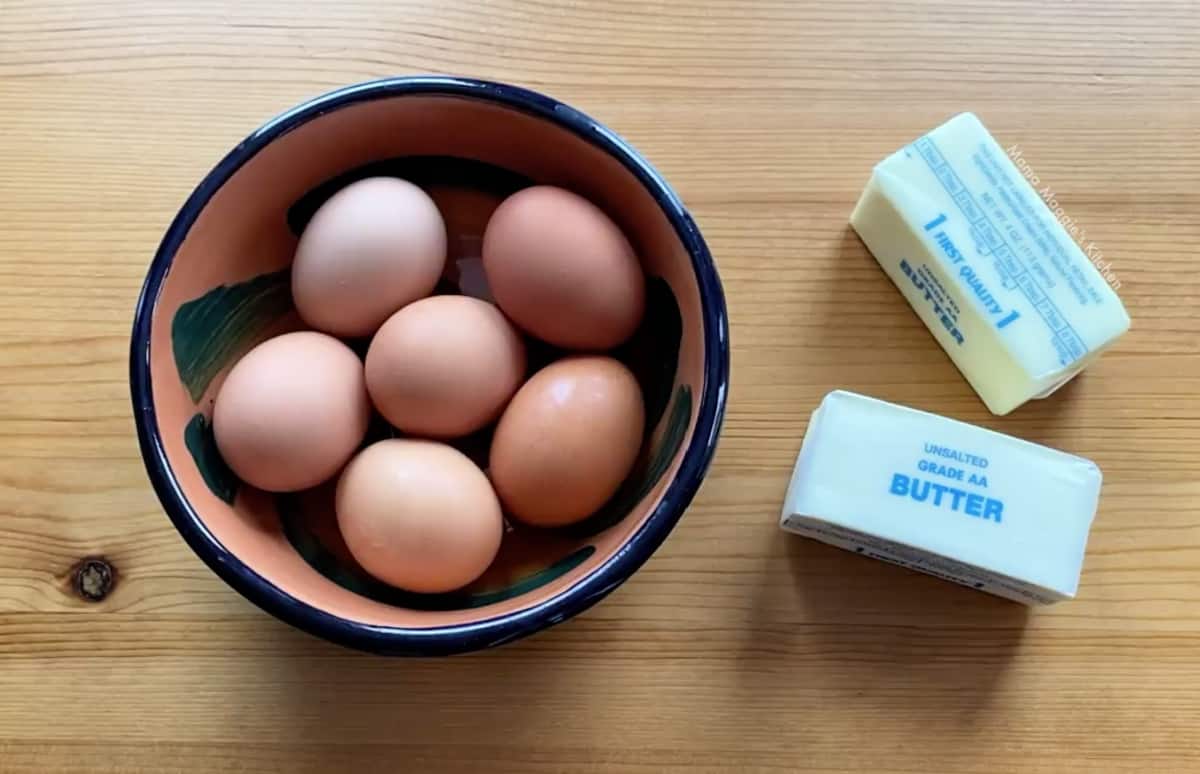
- Start by taking out large eggs and unsalted butter.
- This will take the longest.
Room temperature eggs are best for this recipe.
Softening the butter is easy, right? Stick it in the microwave and nuke it for a few seconds until soft.
Eggs, though, take longer. We are only using 3 whole eggs and 3 egg yolks to create a pillowy and soft bread.
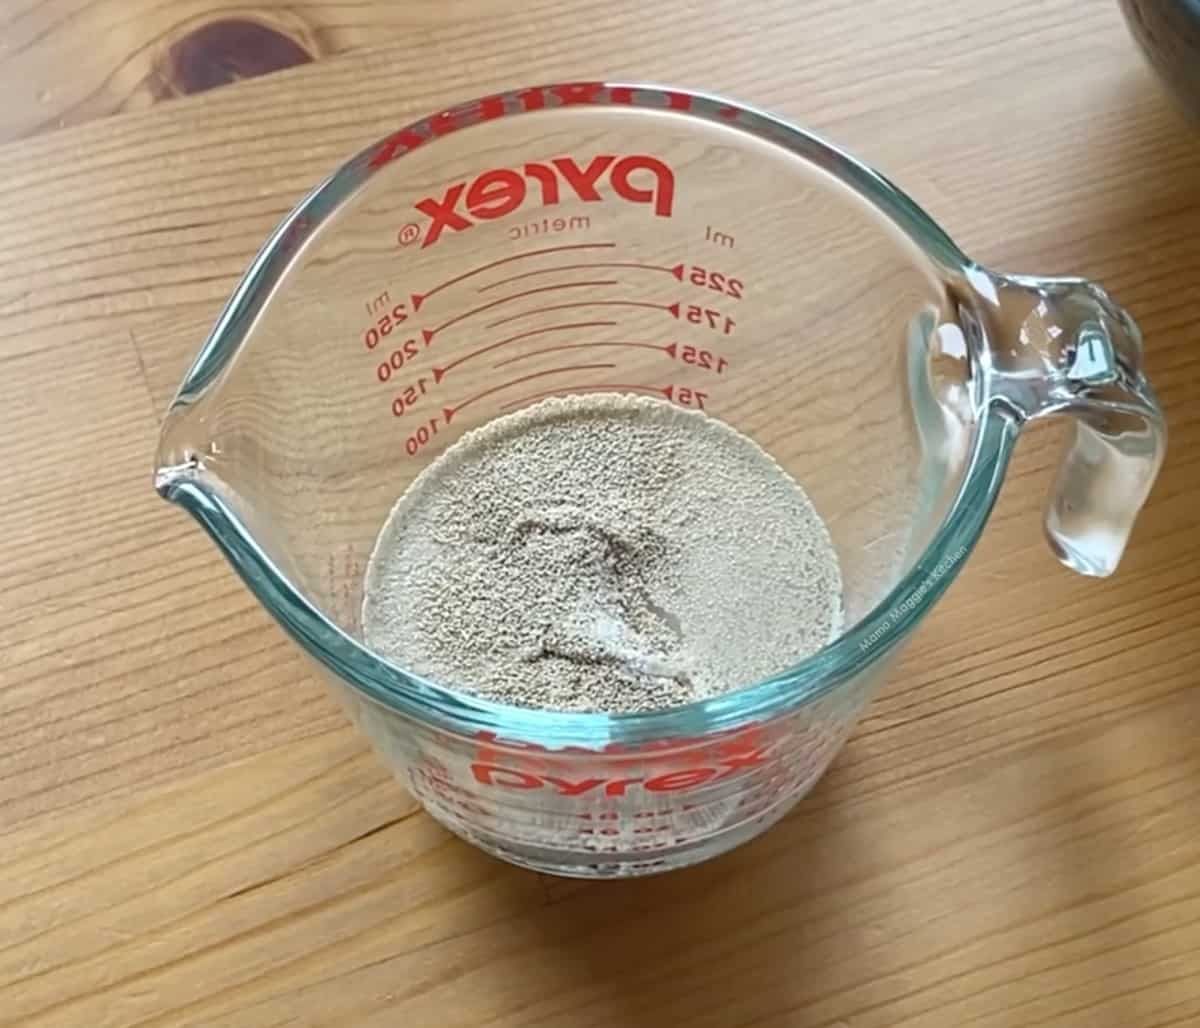
- Add yeast and sugar to warm water.
- Let this rise.
Please note: The yeast mixture was transferred to a bowl to rise. A measuring cup was used to show you measurements.
👩🏼🍳 Pro Tip
Use the yeast mixture once it rises. About 5-10 minutes. Do not let yeast stand too long. Yeast develops its flavor, the longer it sits.
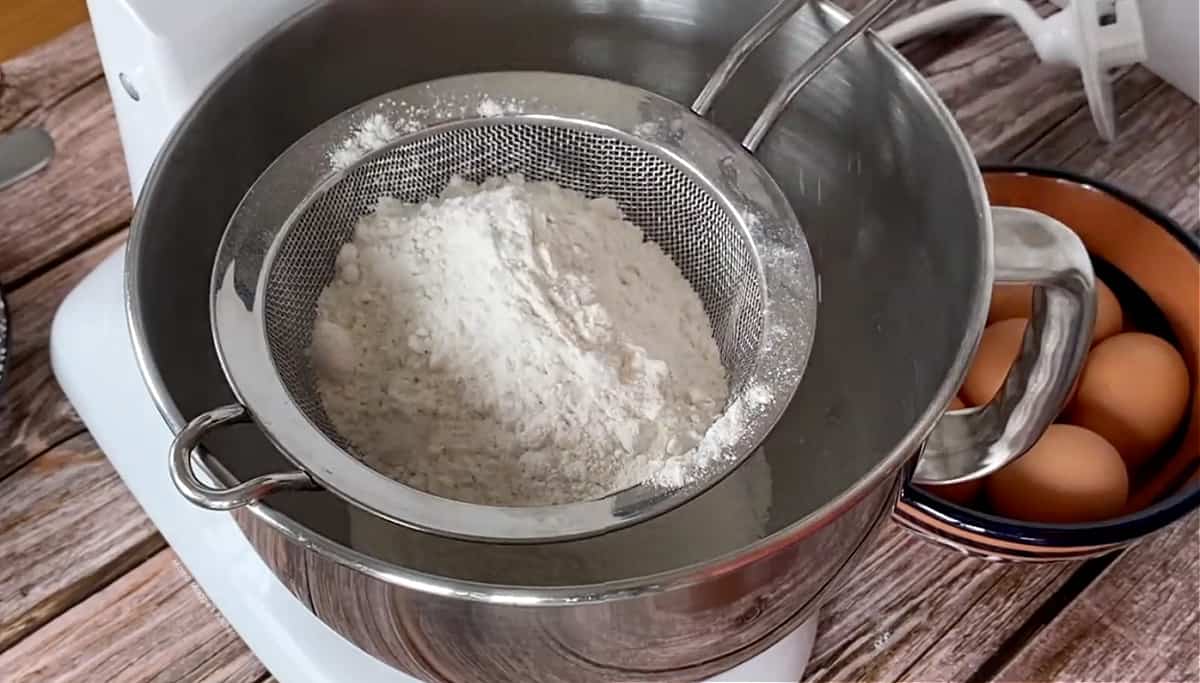
- To a bowl of a stand mixer, add sugar.
- Place a strainer over the bowl and sift the flour and salt.
Sifting creates air, and we want a light, fluffy bread. Or simply whisk together.
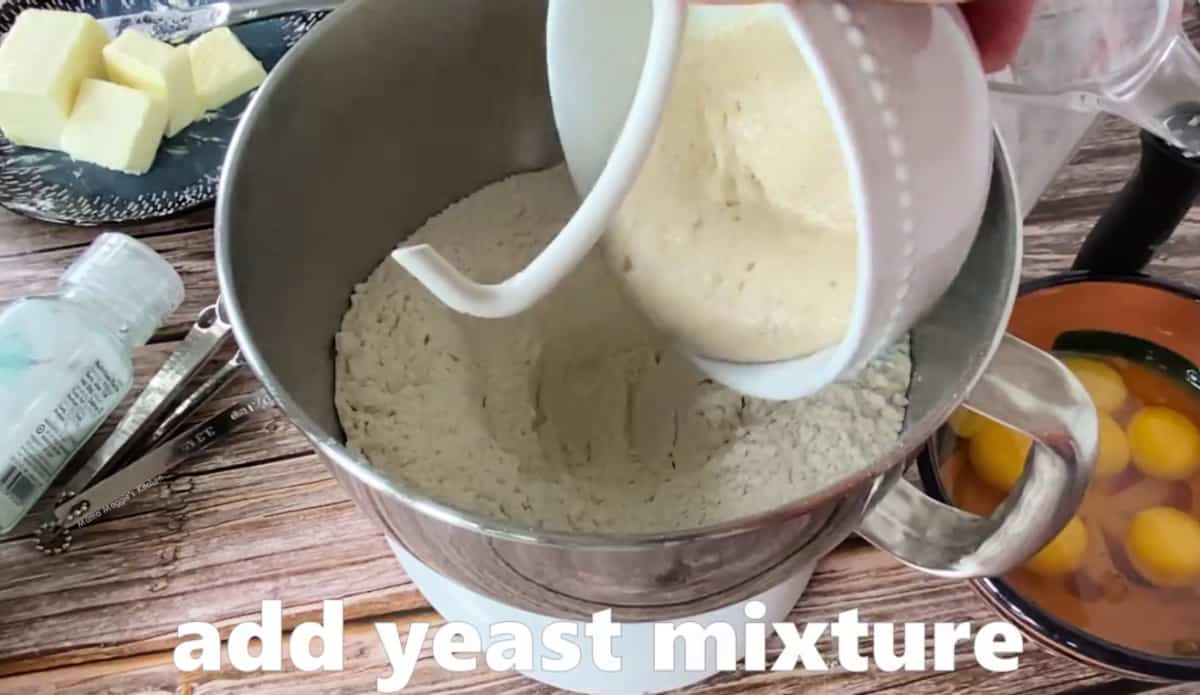
- Create a small well in the center, and add the yeast mixture.
- Mix on low speed to combine.
Yes, you can do this by hand or with a hand mixer.
If doing this by hand, sift the flour, salt, and sugar onto a clean surface to create a mountain. Then create a wedge in the center like a volcano.
Then add the yeast mixture. Mix slowly.
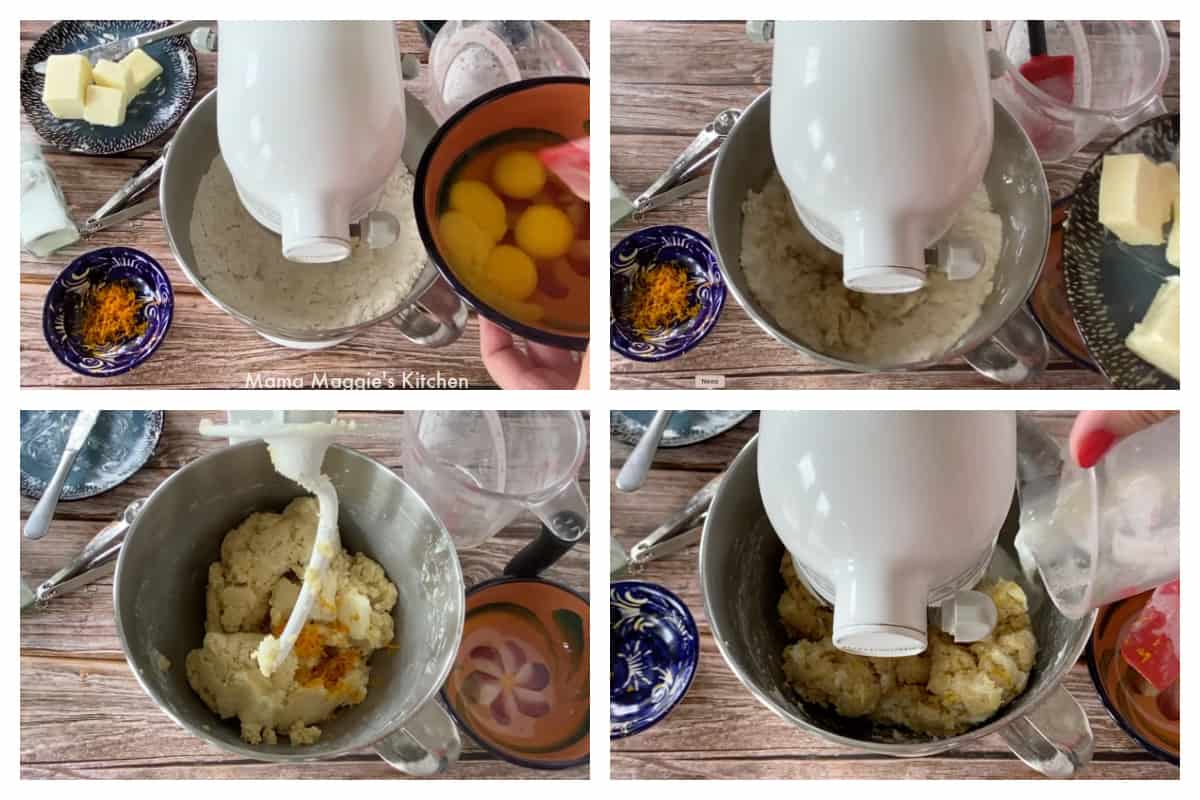
- Add the eggs and egg yolks one at a time.
- Add the butter slowly until full mixed.
- Add orange zest and milk.
Warning: Do not use hot milk. Only warm milk, or substitute for evaporated milk.
Agua de Azahar
Agua de Azahar (or Orange Blossom Water) is common ingredient in this recipe but hard to find. Either order it on Amazon or look for it in Middle Eastern markets.
If using Agua de Azahar, use ⅓ cup milk + 3 tablespoon of the orange blossom water.
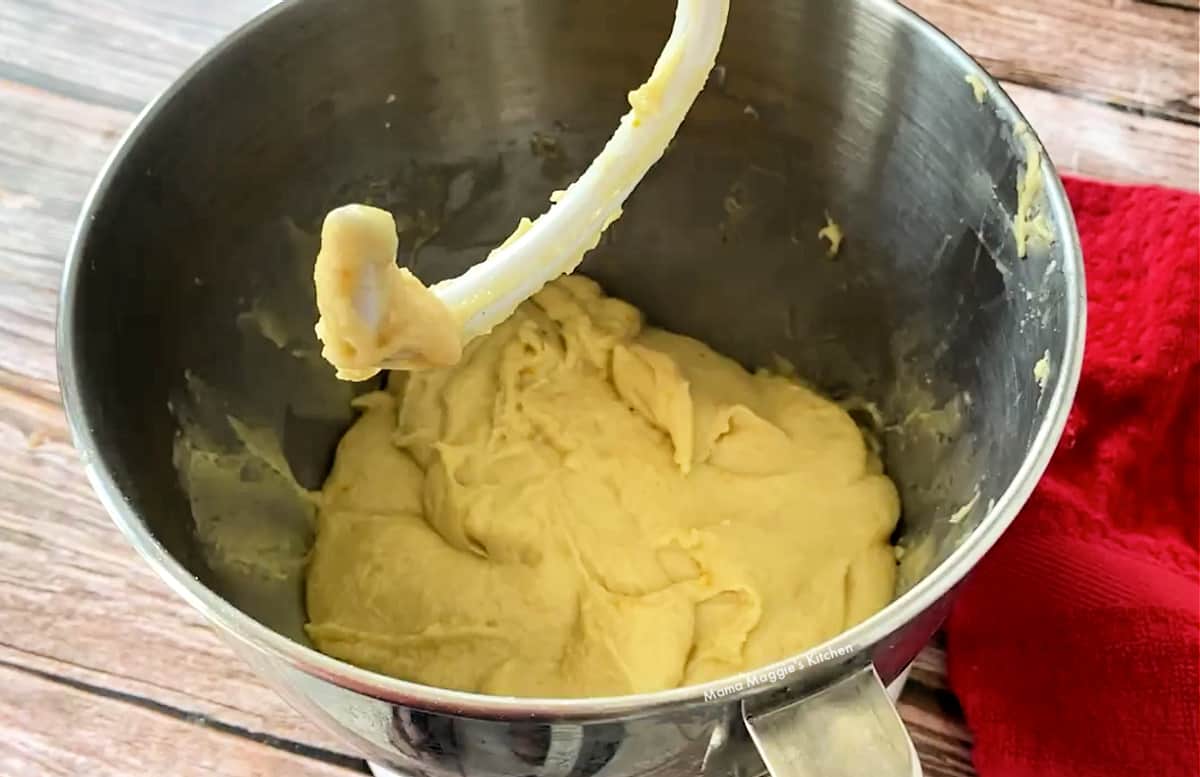
- Using the dough hook attachment, knead for 20-25 minutes on low then medium speed.
- The dough will look wet, but do NOT add more flour, or the bread will be tough.
The gluten will develop after 20-25 minutes, and pull away easily from the mixing bowl.
Another way to tell if it’s ready, touch the dough with your hand. Your hand should NOT stick to the dough.
Doing this by hand requires more time. About 30-35 minutes of kneading.
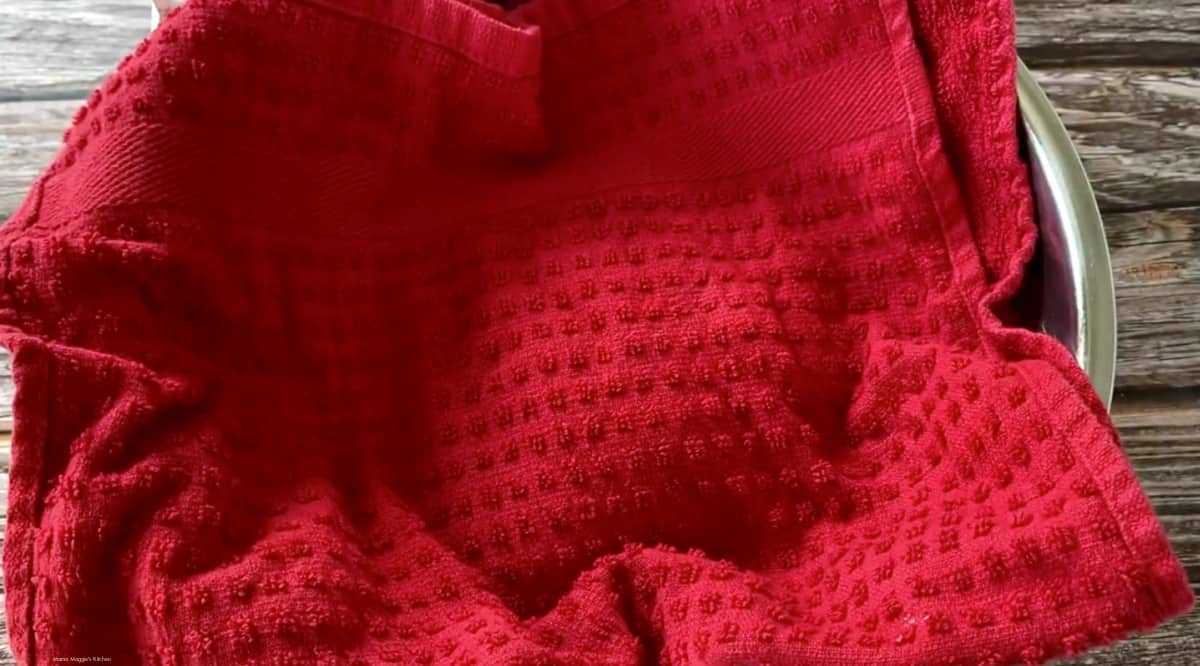
- Place the dough in a greased, large bowl and cover.
- Let it rise for 1 hour in a warm place, or until the dough rises.
Covering the dough will help in preventing a crust from forming. Either a kitchen towel or plastic wrap works in this case.
- After an hour, add all purpose flour to a work surface.
- Cut the dough into three equal parts.
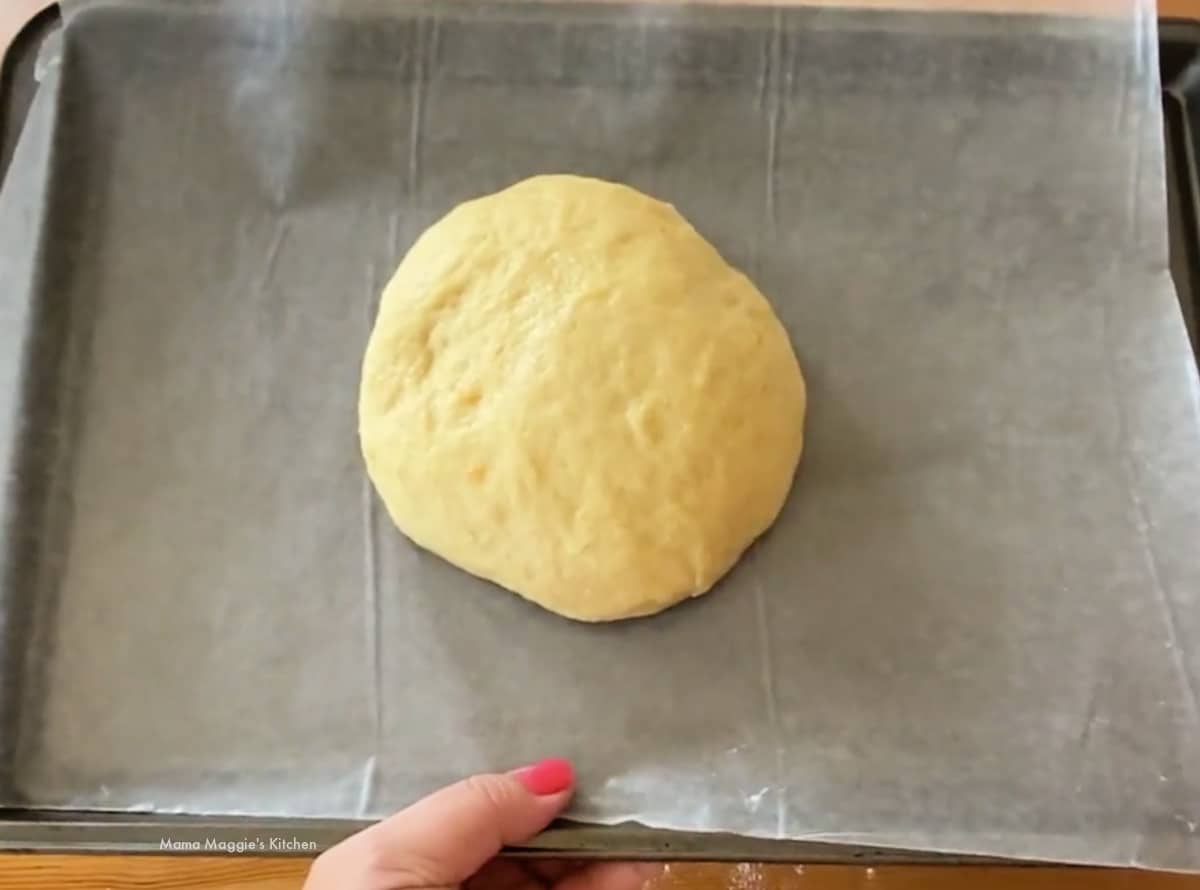
- Separate one of the parts.
- Create a round loaf with each. That is, you are making two balls using the other two dough parts. Seam side down.
The third part will be used in the next step. Set it aside until further use.
For Small Loaves:
Cut the 2 dough parts in half to create 4 pieces. Form into ball shapes. This will create 4 smaller breads.
How to Make the Bone Decorations
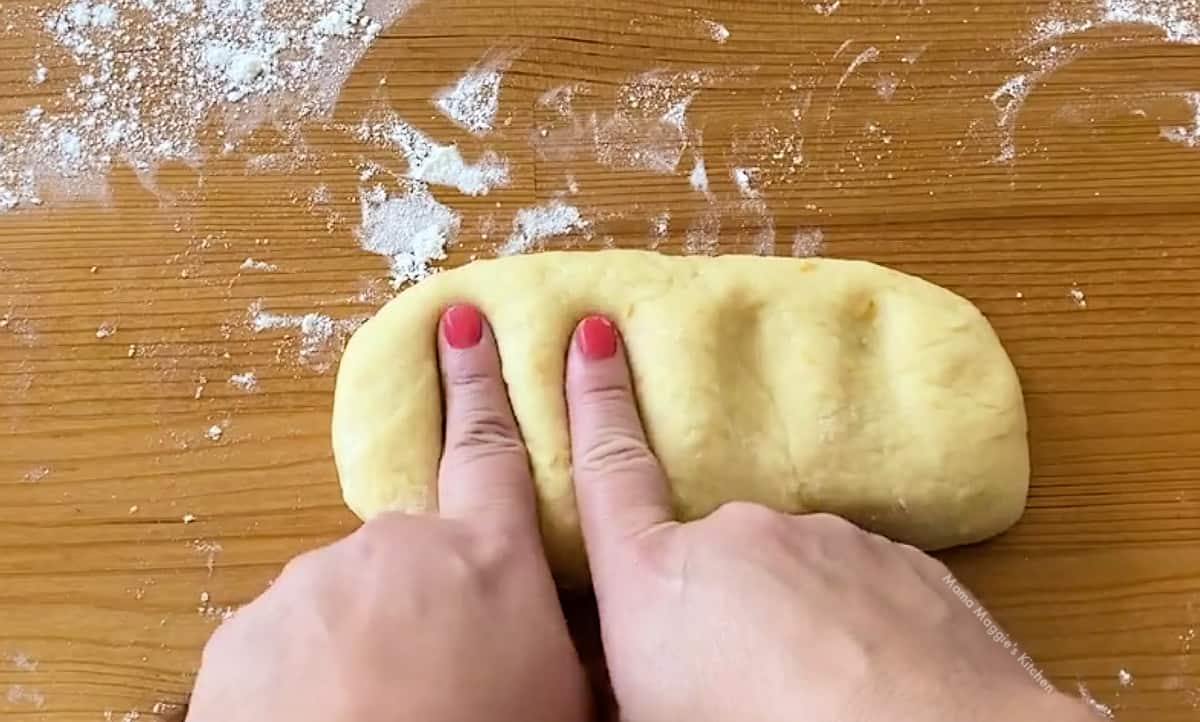
- Using your fingers, eyeball 5 parts on the last piece of unrolled dough.
- Cut 5 pieces.
The pieces do not have to be exact.
4 pieces will make the bones. The last piece will be divided in half to make the balls (or heads).
These top pieces do not have to be as soft and more flour can be used to form them.
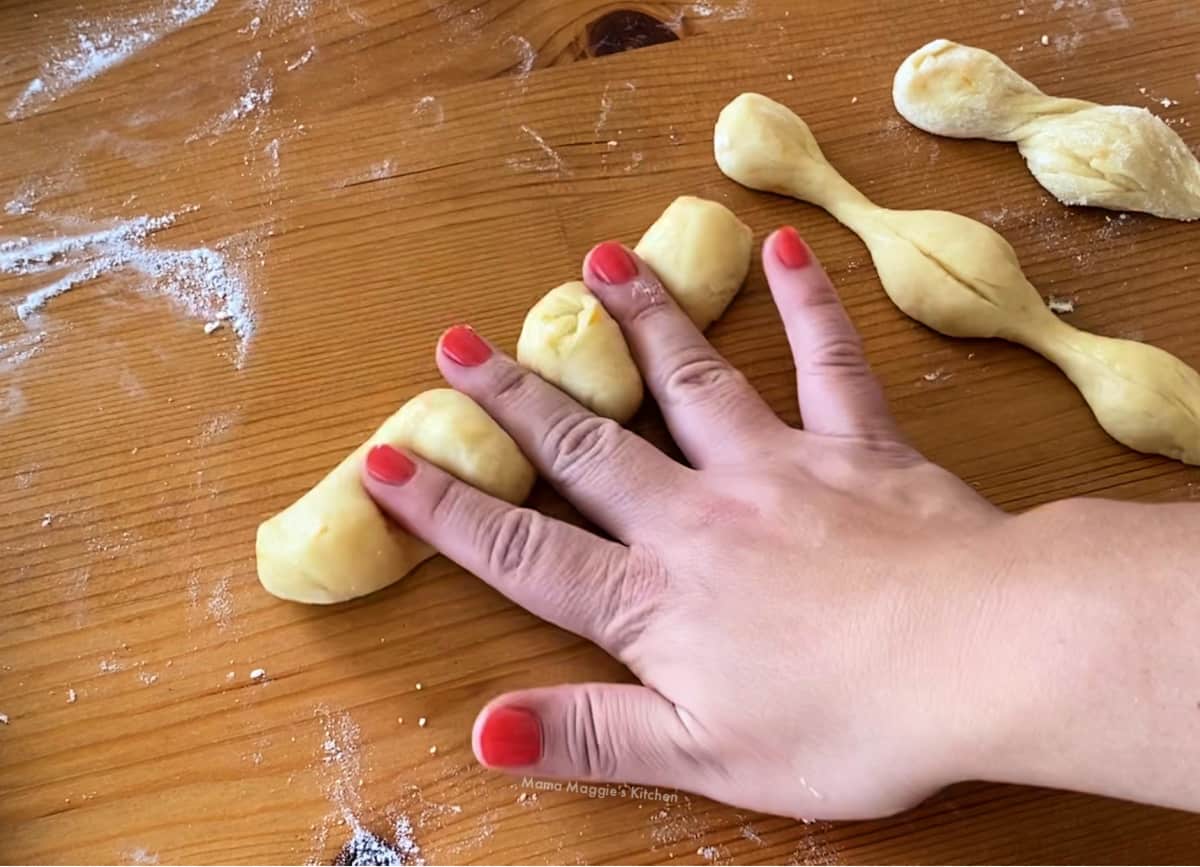
- Take one of the 4 smaller pieces of dough.
- Using your middle fingers, roll out the bones.
- Repeat with the other 3 pieces of dough.
The dough is extra soft (as it should be). A trick in doing this is using more flour.
Even if the bones look dusty, it’s ok. Butter will be added later which will take away the dusty look from the flour.
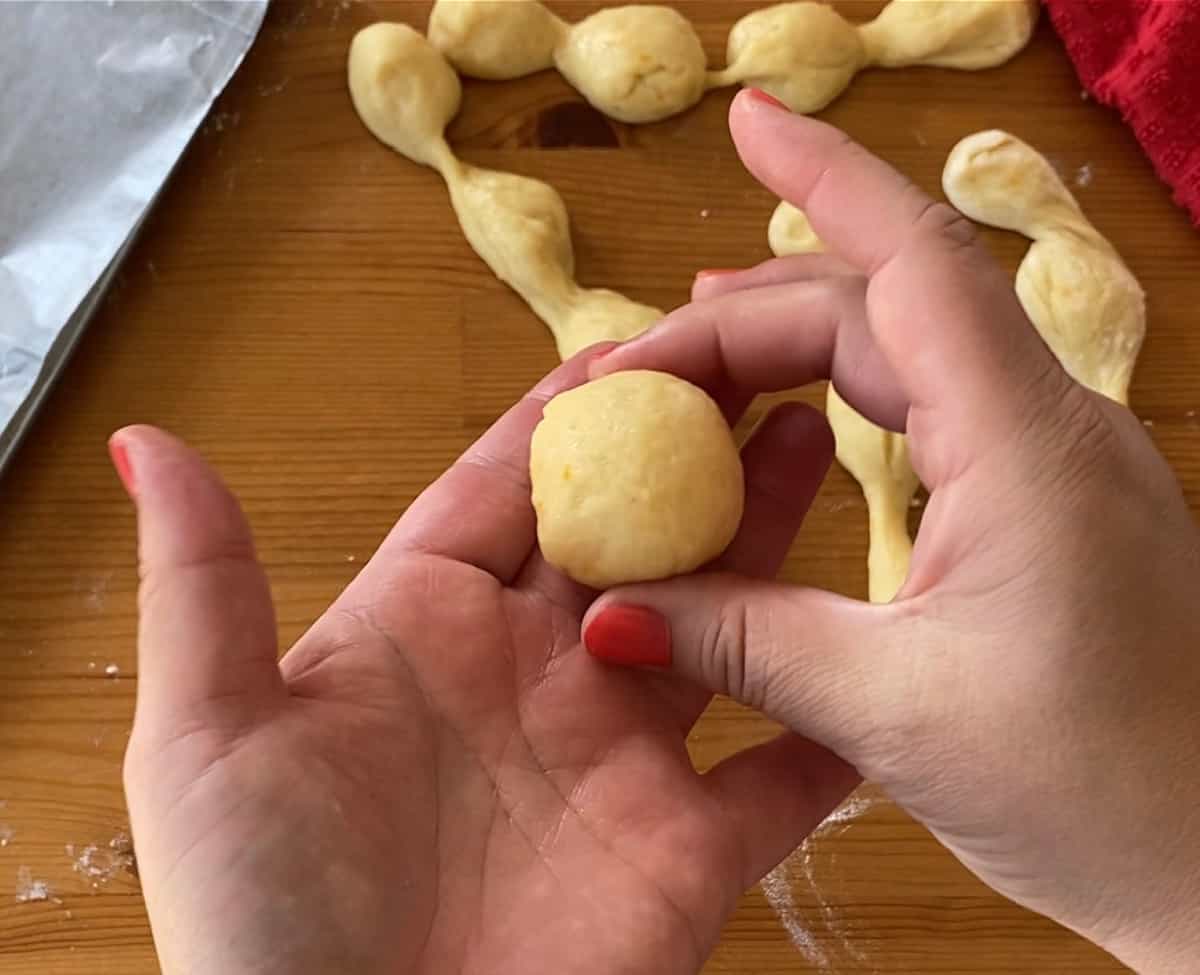
- Take the last piece of dough and cut into half.
- Form a circle with the seam side down.
Symbolism:
The bread is circular to symbolize the circle of life. On top, there are the bones and the head.
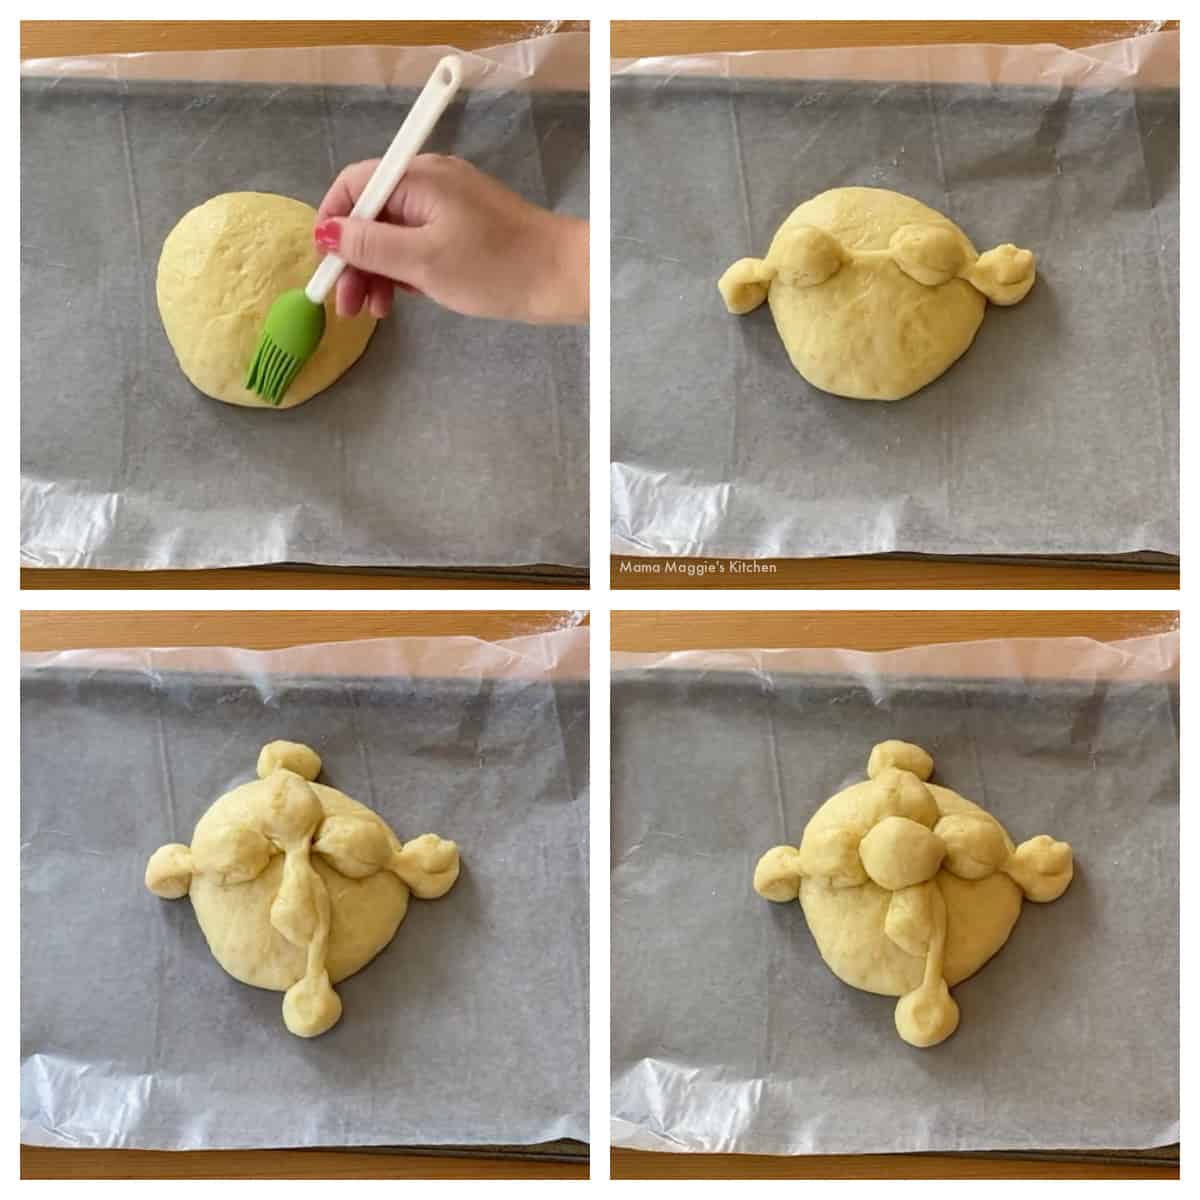
- Using a brush, add water crisscross on the bread dough.
- Add one of the bones and add the other across to form an X.
- Add more water to the center and add a small ball.
Repeat with the second bread.
Water acts like a GLUE to hold the bones and head in place.
Cover with a kitchen towel. Place in a warm spot for a second proof. About an hour or 1 ½ hours.
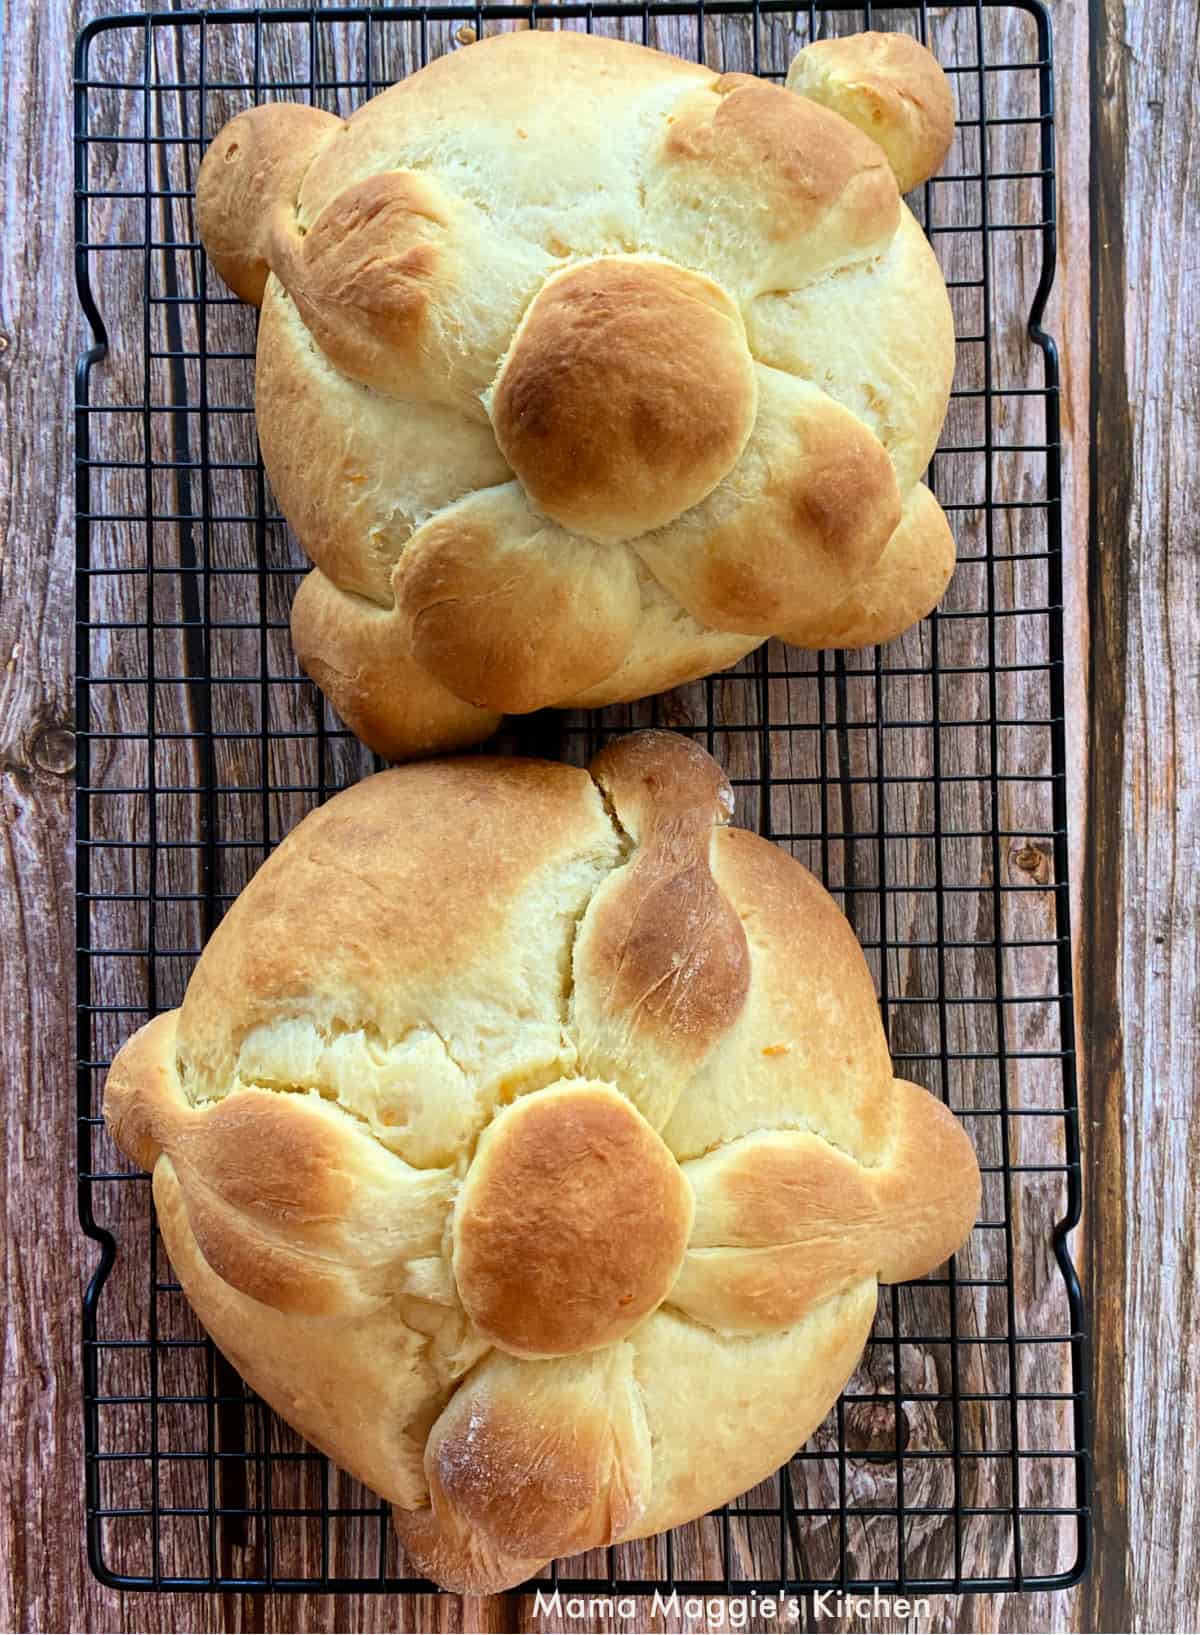
- Place on a baking sheet.
- Bake in a 350 degrees F oven.
- Let cool slightly on a wire rack.
Bake for 20-25 minutes (for 1 bread)
Bake for 25-30 minutes – maybe more – (for 2 breads)
To be sure that your bread is ready, stick a toothpick inside. If it comes out dry, you’re good to go.
Return to the oven if not ready for additional 5 minutes.
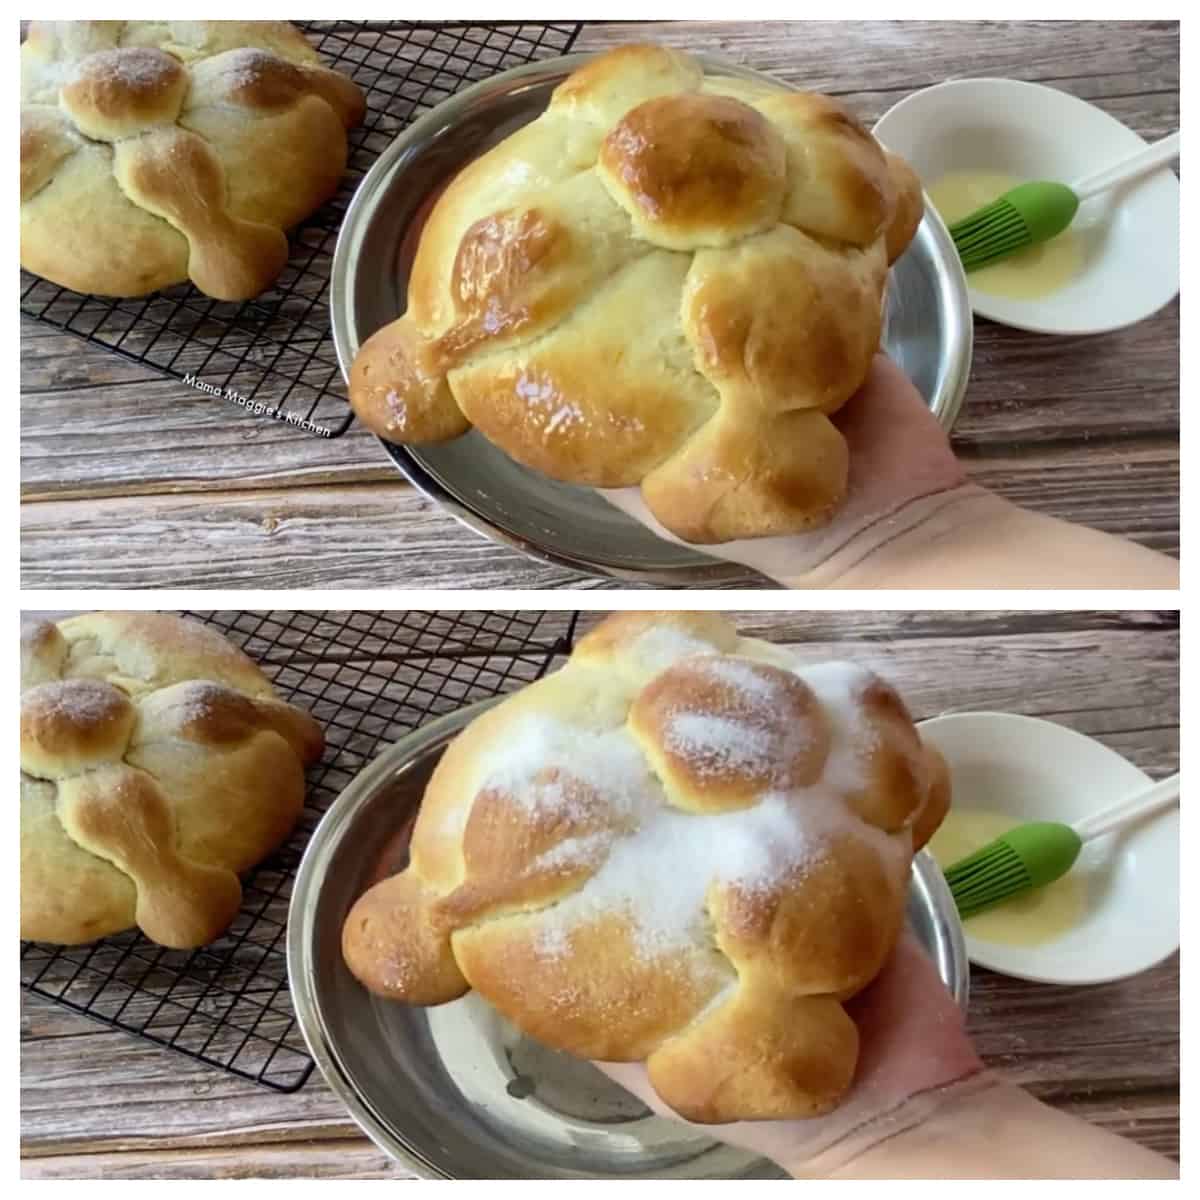
- While the bread is cooling, melt ¼ cup butter.
- Brush melted butter all over the golden brown top of the bread.
- Sprinkle white sugar on the top while using a bowl underneath to catch any excess sugar.
Spread the sugar evenly all over the bread. Butter helps act like a glue for the sugar.
Some people take it up a notch and fill it with cream cheese, or cut in half and add Nutella or a vanilla custard… mmm!
🍰 More Mexican Desserts
🍴 What to Serve with It?
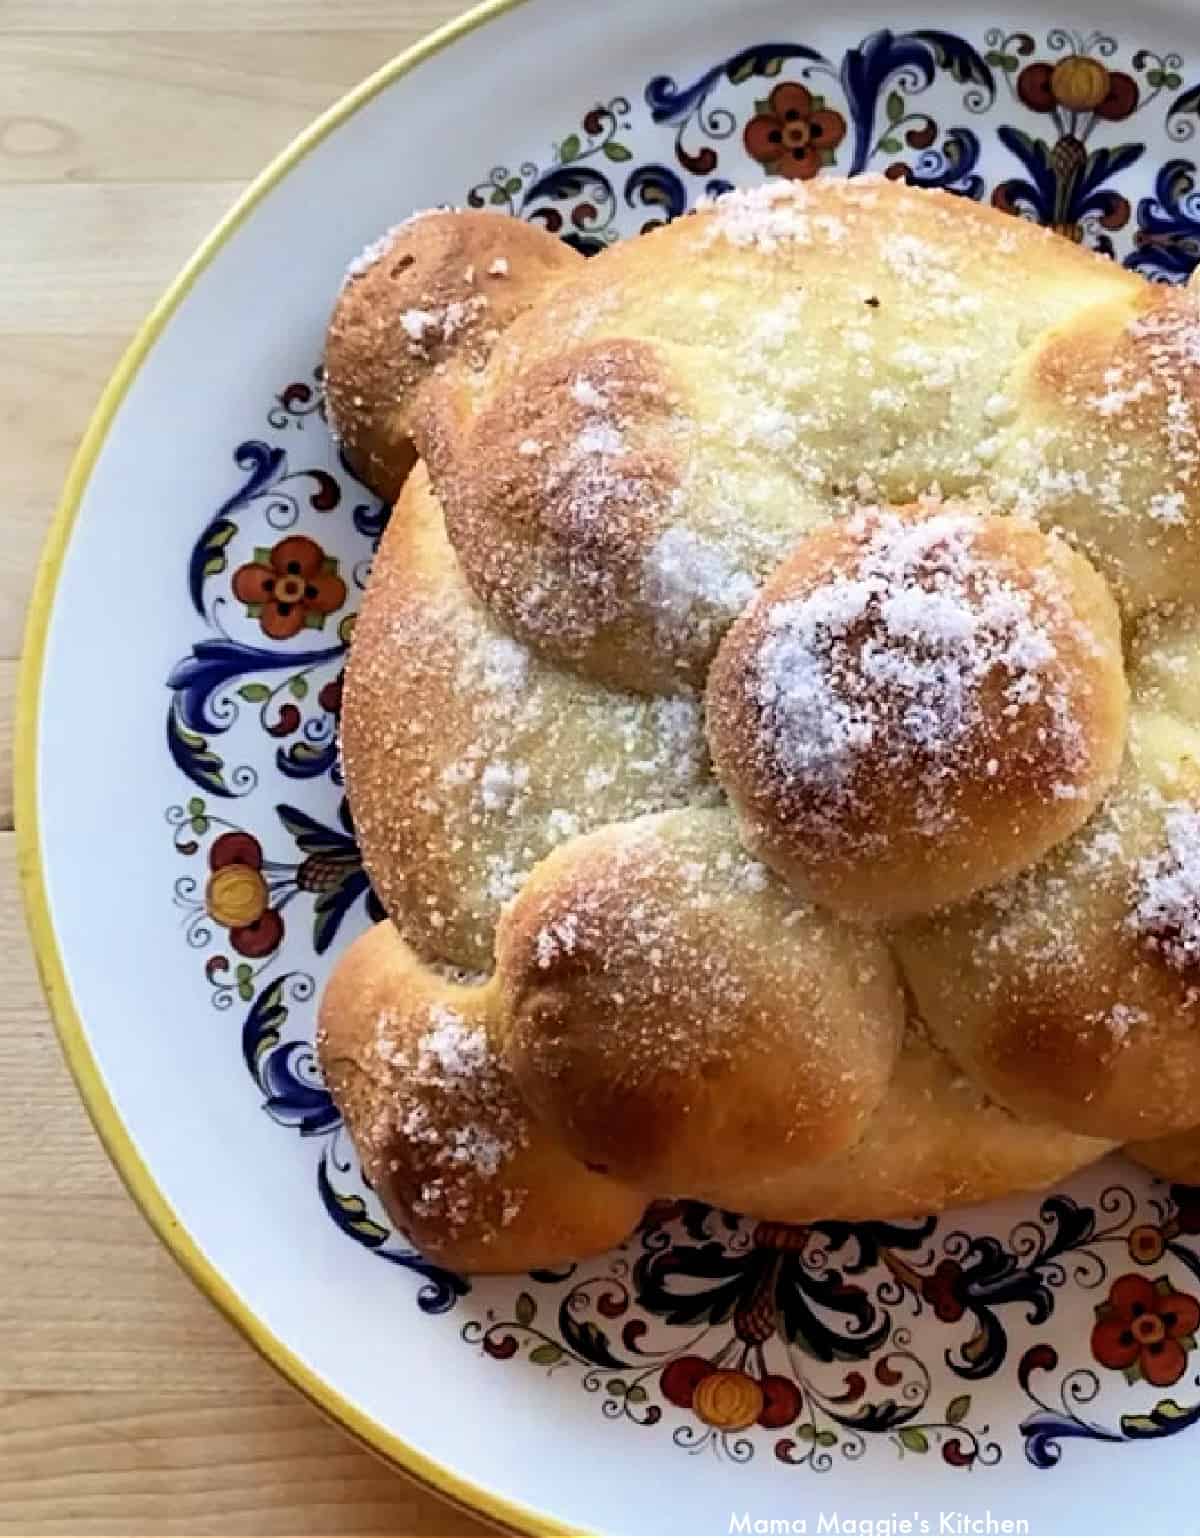
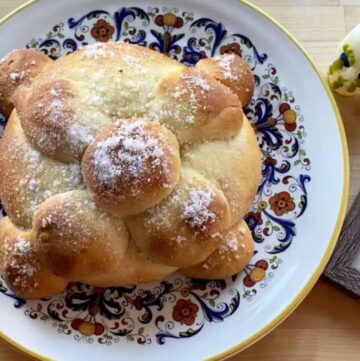
Pan de Muerto (or Day of the Dead Bread) is so soft and so yummy! This traditional Mexican sweet bread made in October and November that is sure to please the living and the dead.
😋 Hungry for More?
Be sure to subscribe to my newsletter and follow along on Facebook, Instagram, Pinterest, Twitter, YouTube for my latest recipes and videos.
Did you make this recipe? Please rate the recipe below!
Pan de Muerto
Ingredients
For the Yeast:
- ¼ c warm water
- 3 ½ teaspoon active dry yeast (or 1 ½ packages)
- 1 teaspoon sugar
For the Dough:
- ¾ c sugar
- 4 c all purpose flour
- ¾ teaspoon salt
- 3 whole eggs room temperature
- 3 egg yolks room temperature
- ⅔ c butter softened
- ½ c warm milk
- zest from 2 oranges
- ¼ c water (to add the bones and head to dough)
For Toppings:
- ¼ c melted butter
- 1 cup sugar
Instructions
For the Yeast:
- Dissolve the yeast in warm water.
- Add sugar.
- Mix well. Set aside.
- About 5-10 minutes.
- Water must be a maximum of 110 degrees F, or you will kill the yeast.
For the Dough:
- Add sugar to a large mixing bowl.
- Sift the flour and salt into the bowl.
- Create a small well in the center of the flour mixture.
- Add the activated yeast.
- Mix on low to combine.
- Add the eggs and egg yolks one at a time.
- Add the butter little by little until fully mixed.
- Next, add the milk and orange zest.
- The mixture will appear wet.
- Knead (using the hook attachment for the KitchenAid) for 20-25 minutes.
- Do NOT add more flour, or the result will be a tough bread.
- If after 25 minutes the dough is not quite together, add a teaspoon of flour and mix for another 5 minutes.
- If doing this by hand, knead for 30 minutes.
- The dough is ready when the dough does not stick to your hand.
- Place the dough in a well-oiled bowl.
- Cover and proof for 1 hour.
- Cut the dough into three pieces.
- Set one piece aside until ready to use.
- Using the other two pieces, create two small balls.
- The seam should be on the bottom, and the top should be smooth.
- Repeat with the second piece of dough.
- Using the third piece of dough, create a flat rectangle.
- Cut 5 equal pieces.
- Separate 4 of the pieces and roll out each piece with your fingers to create the bones.
- Repeat with the other 3 pieces.
- With the last remaining piece of dough, cut into two.
- Roll out into a circle to create the head.
- Using a brush, brush water crisscross on the dough.
- Add the bones across the center of the dough.
- Add the other set of bones across to create an X.
- Add more water to the center where the bones meet.
- Place the circle (or head) to the center of the dough.
- Cover and let rise for a second proof.
- Proof for 1 hour.
- Preheat the oven to 350 degrees F.
- Bake for 20-25 minutes (for 1 bread)
- Bake for 25-30 minutes (for 2 breads)
- Stick a toothpick to the center of the bread.
- If it comes out clean, your bread is ready.
- If not, return to the oven for another 5 minutes.
- Cool slightly on a cooling rack.
- Melt the butter.
- Brush the melted butter all over the top of the bread.
- Sprinkle with sugar over a bowl to catch the excess.
- Spread sugar all around.
- Repeat with the second bread.
- Serve and enjoy!


Yum
Yes. Pan de muerto is so good on Dia de Muertos.
I’m making your pan de muerto today but having a disastrous time. I followed the directions and ingredients exactly but after 55+ minutes with the dough hook on the kitchenaid my dough is still very wet and definitely not pulling away from the sides. My yeast mixture got nice and foamy and risen so I know my yeast is good. Not sure what my issue could be ?
Baking also depends on weather. If it’s humid or if it’s cold, you’ll get different results. In this case, after 55+ minutes with the hook, add some flour. Not a lot. Just a little bit to bring it together. If you add too much flour, the bread will be tough and not soft. Hope this helps.
Thank you for sharing with us this recipe celebrating your culture! This looks awesome!
So glad you liked this recipe!
Saving this recipe to make soon! I tried this bread while living in Berlin as my Mexican friend loved baking and she would make this every Halloween. I can now try making it my own with this easy to follow recipe, thanks a million!
Glad you enjoyed this. Hope you try it!
Hey Maggie,
Never knew about the significance of this bread, thank you very much for enlightening me. Pan de Muerto looks so good, soft and delicious. Love how you have explained the steps in detail, I have to try this now, saved the recipe. Thanks again! 🙂
Glad you enjoyed this! Hope you try it.
I adore pan de muerto! My friend makes them every year around this time, and it is always a very welcome sight! It is delicious and just perfect companion to a cup of coffee!
Perfect recipe to have with a cup of coffe!
Love baking variety of breads. Love how this one looks and specially the flavors that goes in. Thanks for sharing.
Glad you liked it!
It is so nice to know about the story of making this bread.
That look so delicious and making it look so easy. I will def try that, thank you!
Easy and delicious! hope you try it!
Love the concept of celebrating Day of the Dead. I need to check on your recipe. Perfect , buttery and flavorful too. Sounds interesting and looks yum too.
It’s really yummy. Hope you try it!
This was so good. My kids had so much fun shaping and making it their own and we all loved the flavors. Definitely a fall keeper!
This recipe is the best! Glad you enjoyed it.
I am in love with the subtle orange flavor in this sweet bread. It’s amazing. I really appreciated your very clear instructions to help insure that the final product turned out perfect. Thank you, Maggie.
It’s delicious! Glad you enjoyed this recipe.